In the Page Editor, frames are added to your canvas to design your yearbook - Shape, Text and Image types are available.. Below you will learn what frames are and the basics on how to use them. To learn how to customize each type of frame, check out the Shapes, Text & Image Frames articles.
What is a frame?
All objects on your canvas exist inside a frame. There are three types of frames: Image, text and shape frames.
Image frames for photos & backgrounds 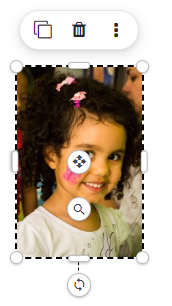
| Text frame for titles, captions, and paragraphs 
| Shape frame for color blocking 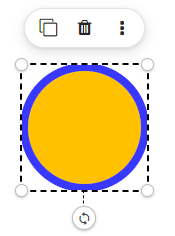 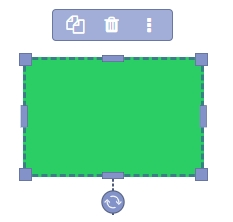 |
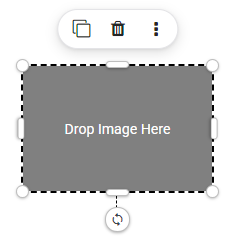
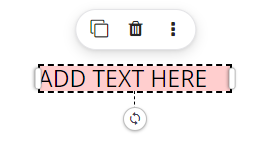
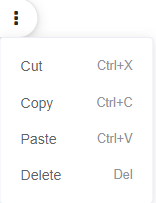
When a frame is selected, quick-select tools appear around it.
| Image frame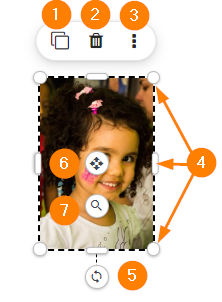 Text frame 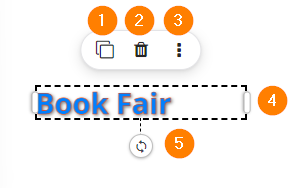 |
Adding frames to a page
From the Photos, Elements and Backgrounds tabs, locate an image to use, then click down to drag it to your canvas. Note that clicking down on a background or photo will add it to the canvas (left side, right side or spread).
Add empty frames to the the page from the top menu icons. Choose an image frame, a shape frame or a text frame to add a frame to the canvas.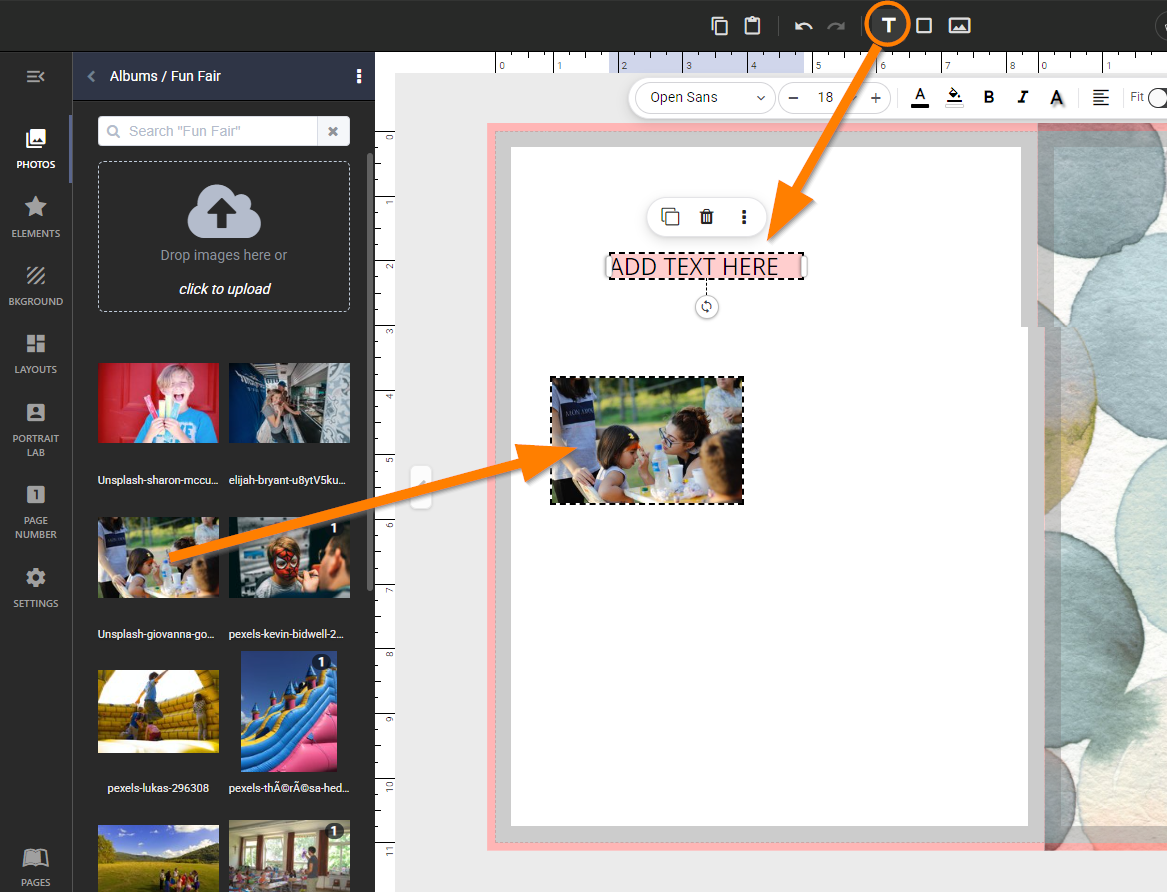
The canvas background frame
Every page includes a locked-down image frame on its canvas. This frame may not be moved or deleted. The canvas background frame may hold an image (from the Photos or Backgrounds tab) or a solid color.
| Photo on canvas | 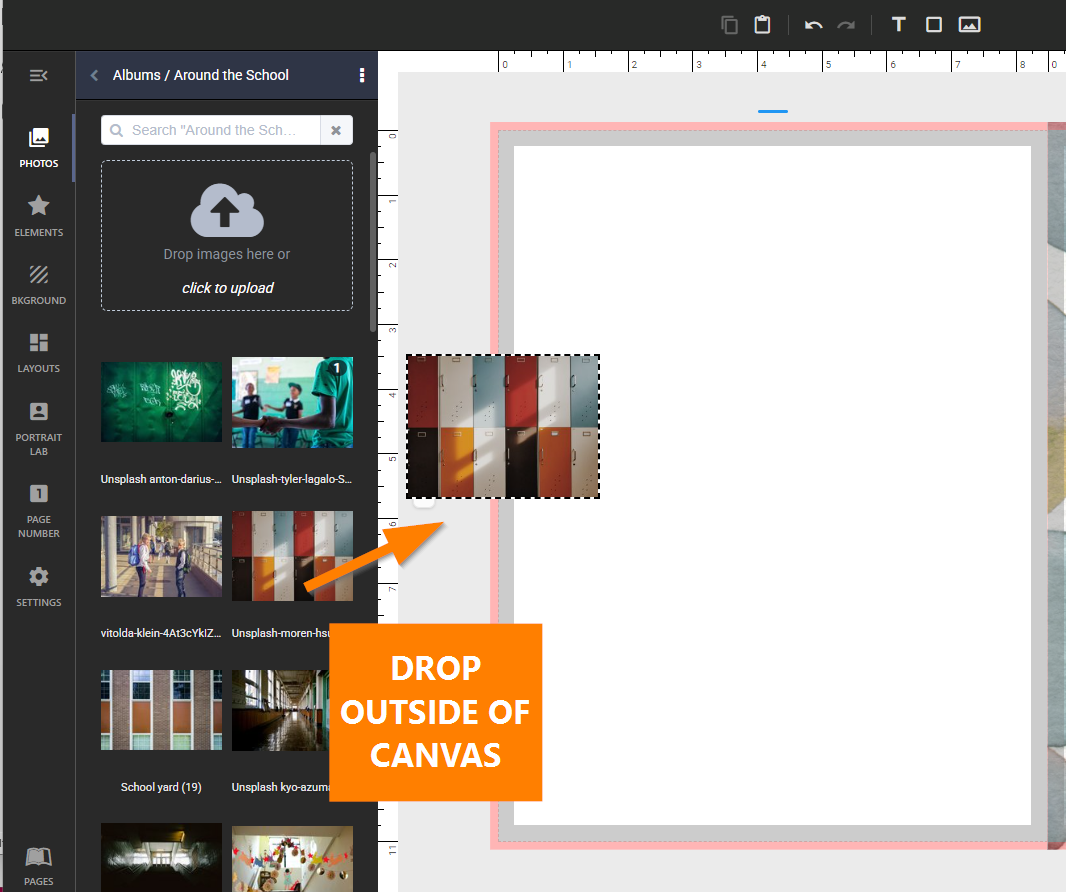 | 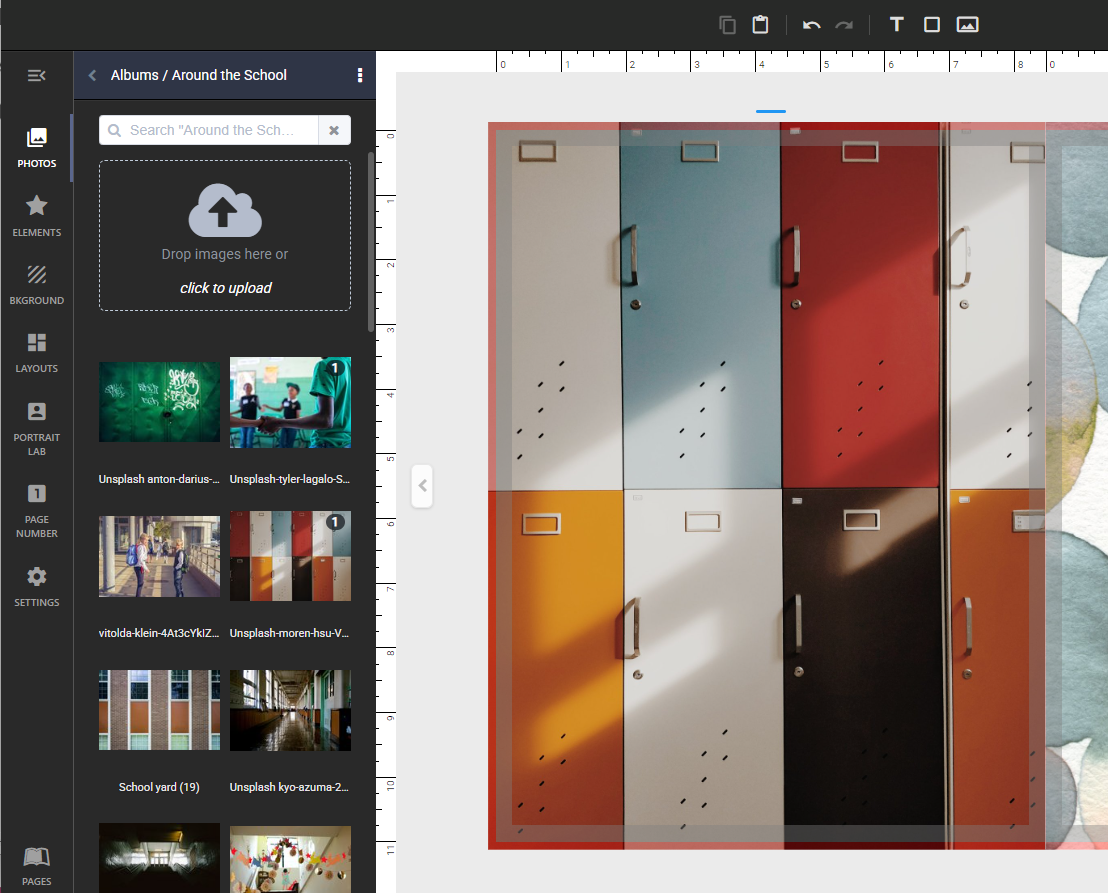 |
| Background on canvas | 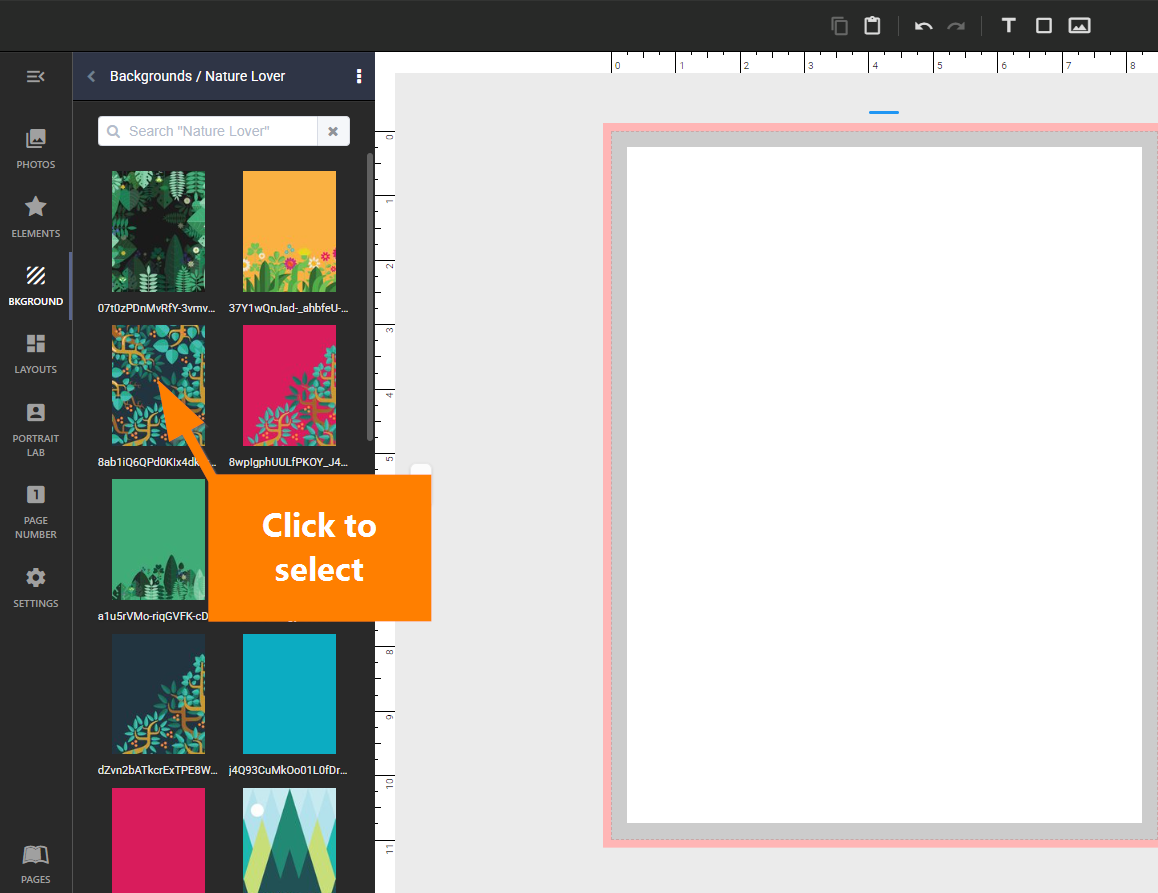 | 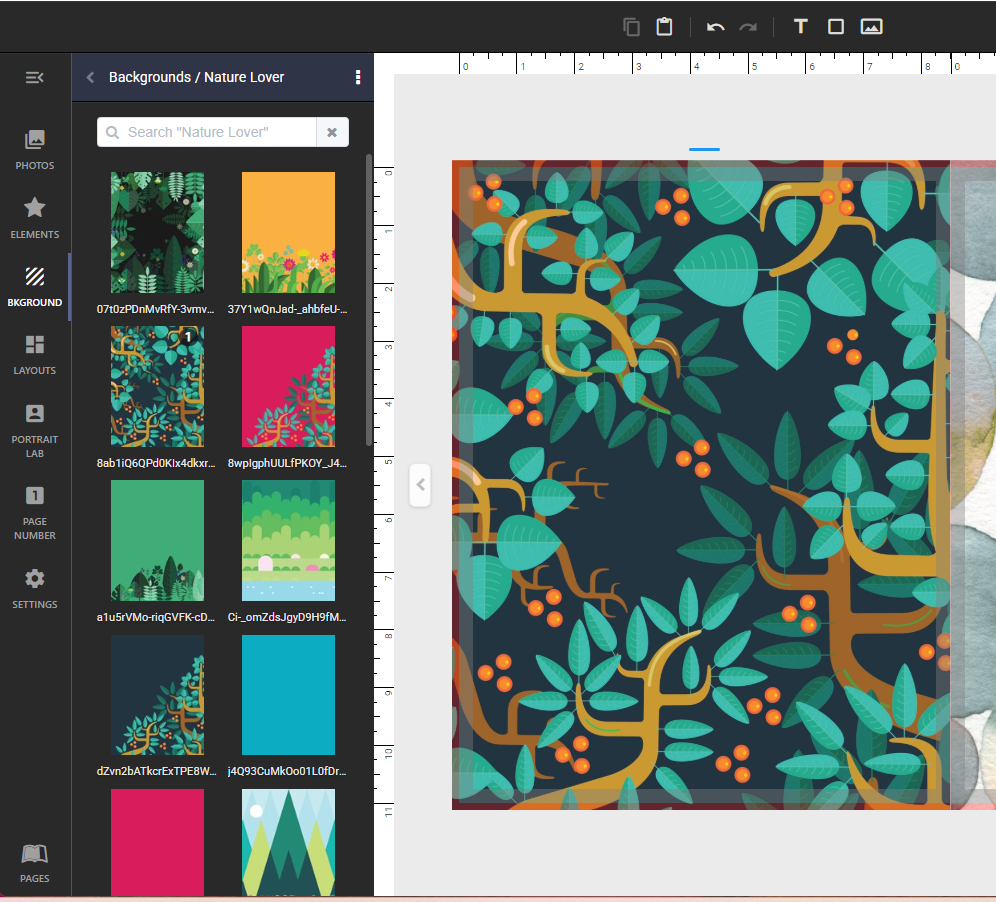 |
| Color on canvas | 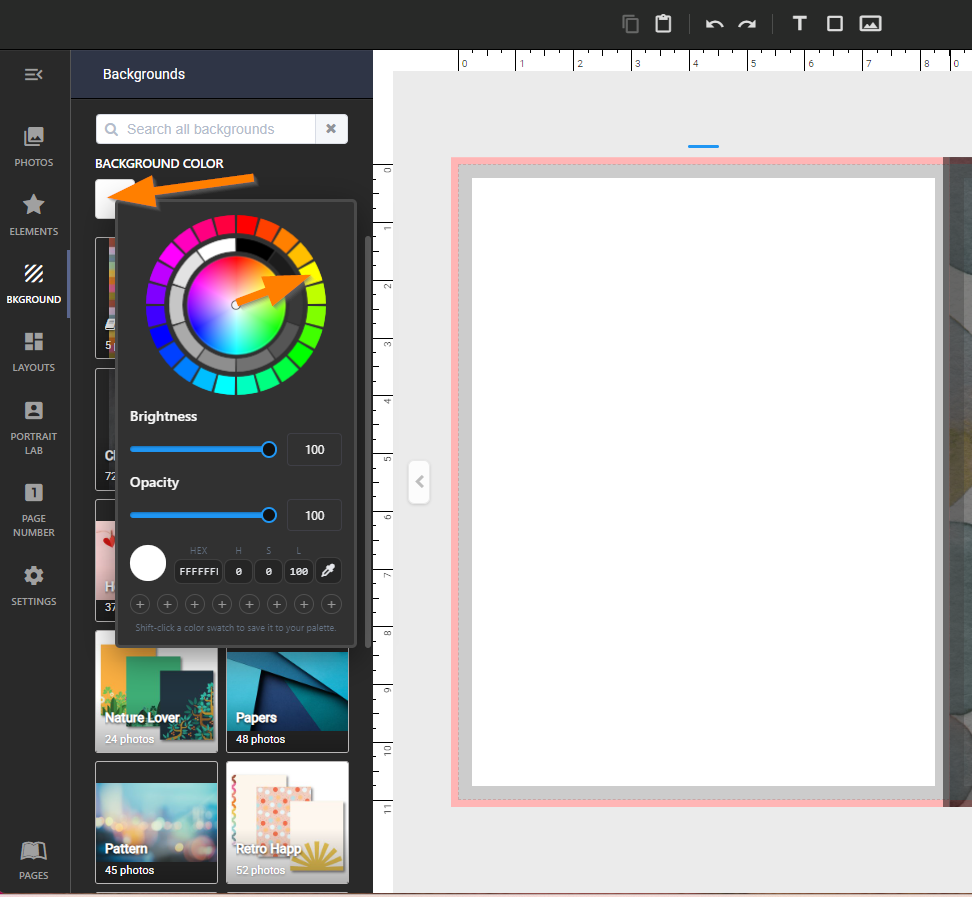 | 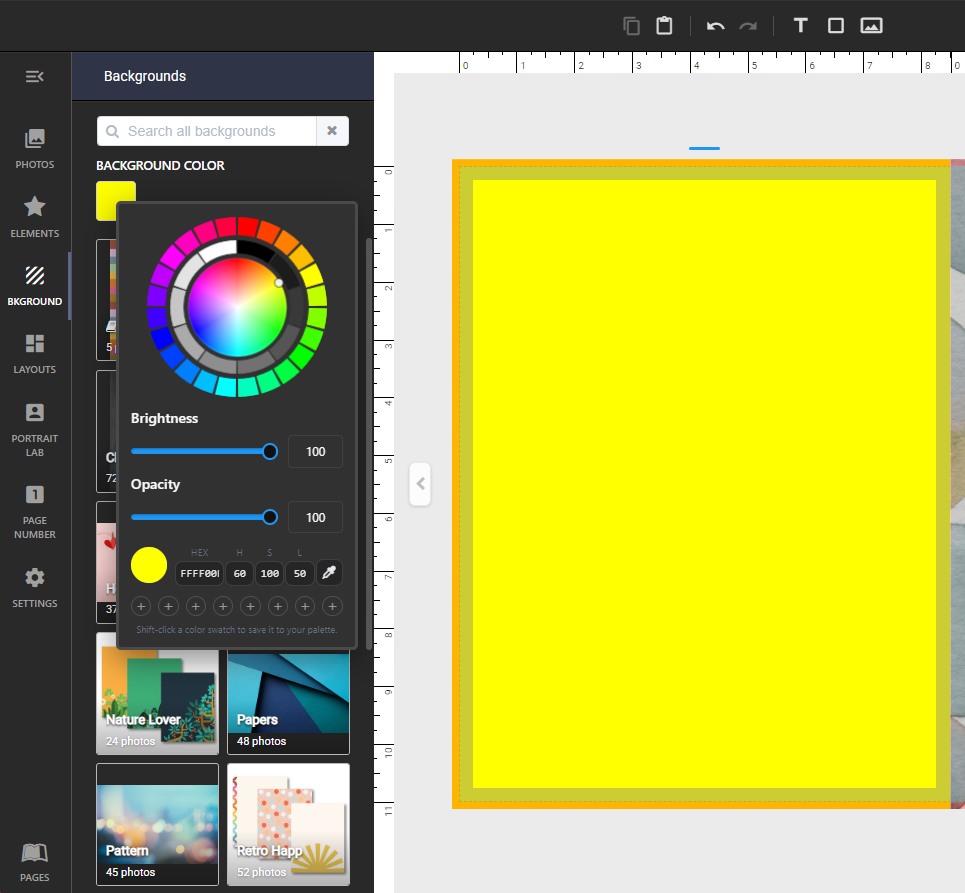 |
More canvas background customization information is available here
| . |
Selecting frames
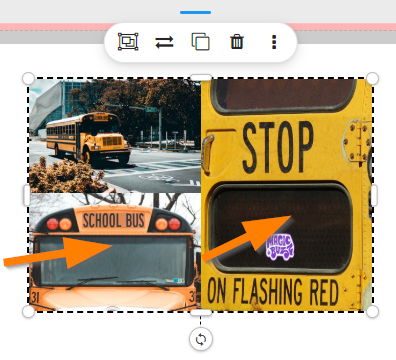
To select a single frame, simply click on it. When selected, handles appear around the edge of the frame.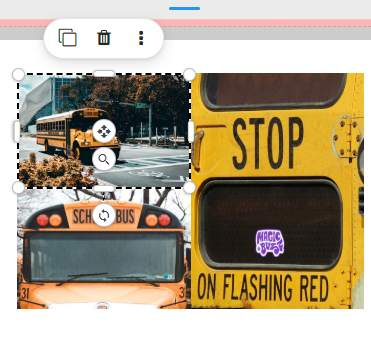 | To select an area of frames, click down and drag down over the entire area. A single set of handles will appear for the entire group.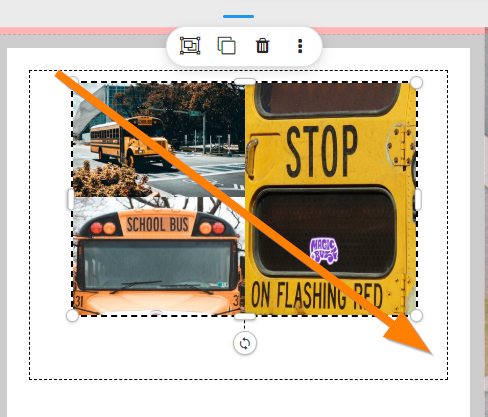 | To select multiple frames individually, hold the Ctrl key (Windows) / Cmd key (Mac), then click on each frame. Handles will appear around the area to contain the selection. |
Moving frames on the canvas
To move a selected frame(s), simply click down on it, avoiding any of the handles, and move it to a new position on the page.
When moving an object on your page, purple snap guidelines will appear to help you align frames relative to other objects on your page. Snapping is magnetic, pulling frames to snap to together, to the page edge, and to grid lines (if enabled).
To turn off magnetic alignment, hold the Shift key on your keyboard while dragging the frame.
| Frames may also be nudged into position using the keyboard's arrow keys. Select a frame, then tap the up/down/left/right arrow keys to move the frame in small increments. By default, nudge distance is set to 1/16". Change the nudge settings in the page editor Settings tab, if desired. | 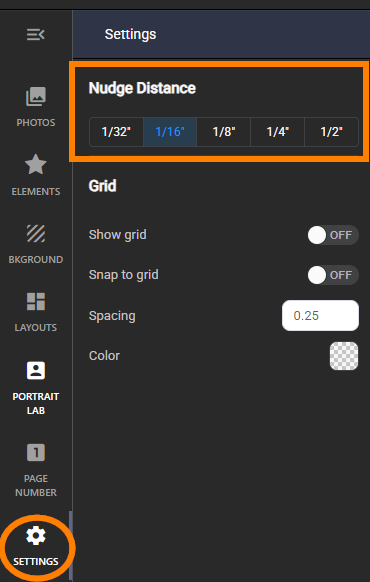 |
Resizing frames
Frames are resized using the handles around their edge. Click down on a handle and drag it to resize the frame. Image and shape frames include corner handles to resize proportionately, enlarging or shrinking the frame without changing its shape. Use a midpoint handle to change the shape of the frame.
Text frames only resize on their width. The text within the frame will autowrap to adjust the frame size. More information on text sizing is available, including "resize to fit" text options.
Rotating frames
Image, shape and text frames may be rotated using the handle under the selected frame. Double-click the rotation hand to reset the frame to its original position.
Tip: Hold the Alt key (Windows) or Option key (Mac) to rotate the frame in 15 degree increments.
Zooming & Panning Images
Photos within image frames may be zoomed in/out using the magnifying icon and repositioned within the frame using the pan icon.
Grouping frames
By default, a multi-selection of frames behaves as a group. To multi-select, drag your mouse over the group of images -- a bounding box will appear to indicate the region of the selection. Once the selection is made, resize, rotate and move the selection as a dynamic group. Click outside of the selection to break the group; the individual frames are selectable again.
Create a semi-permanent group by selecting frames, then click on the Group button on the toolbar -- this icon only appears when there is a multi-selection of frames.
| To ungroup, select the grouped frames and access the Group button in the top menu again. |

Aligning frames
To align frames relative to each other and the canvas, select one or more frames, then click Arrange in the toolbar.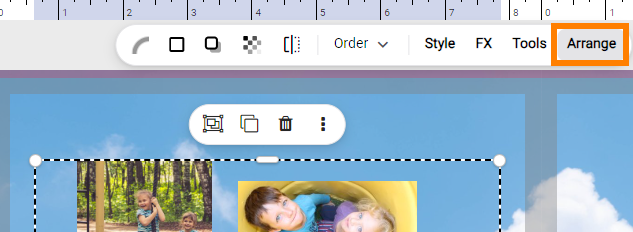
If a single frame is selected, the Alignment tools will include vertical and horizontal alignment options to reposition the image on the page.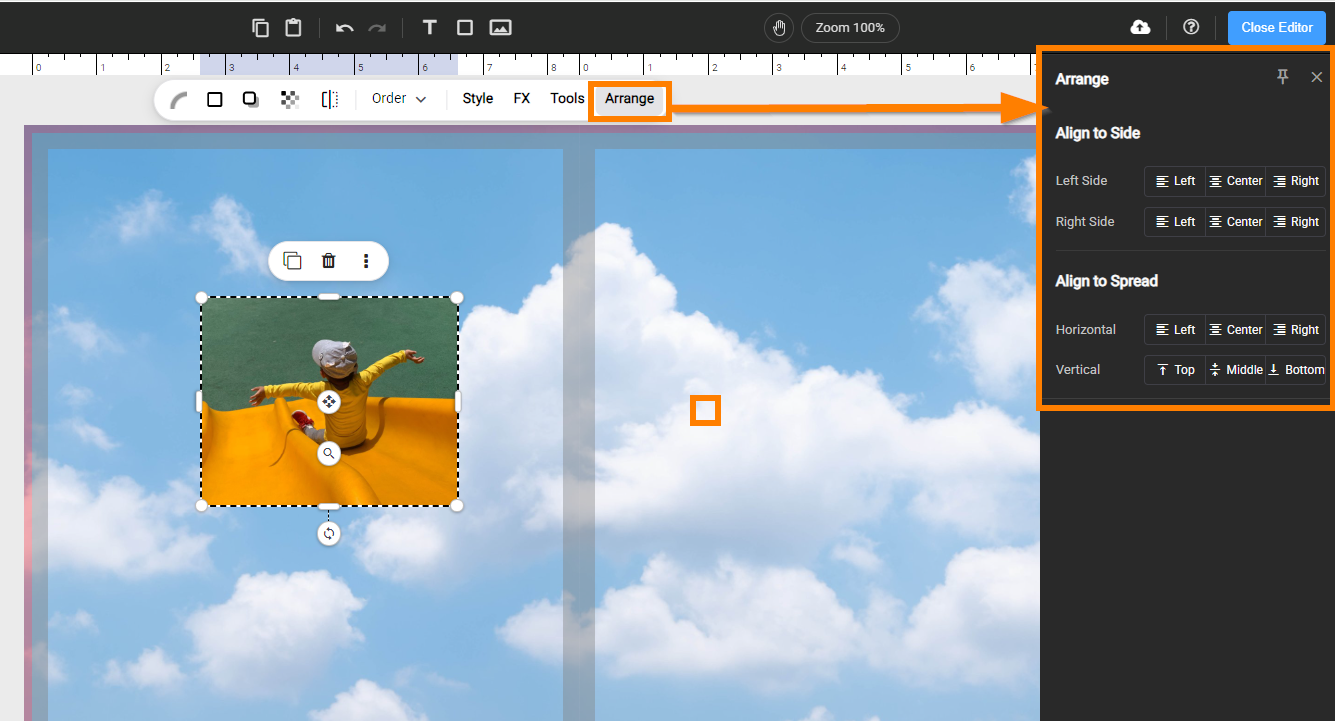 | If multiple frames are selected, Alignment to selection options become available. The selected frames will move relative to each other in the group.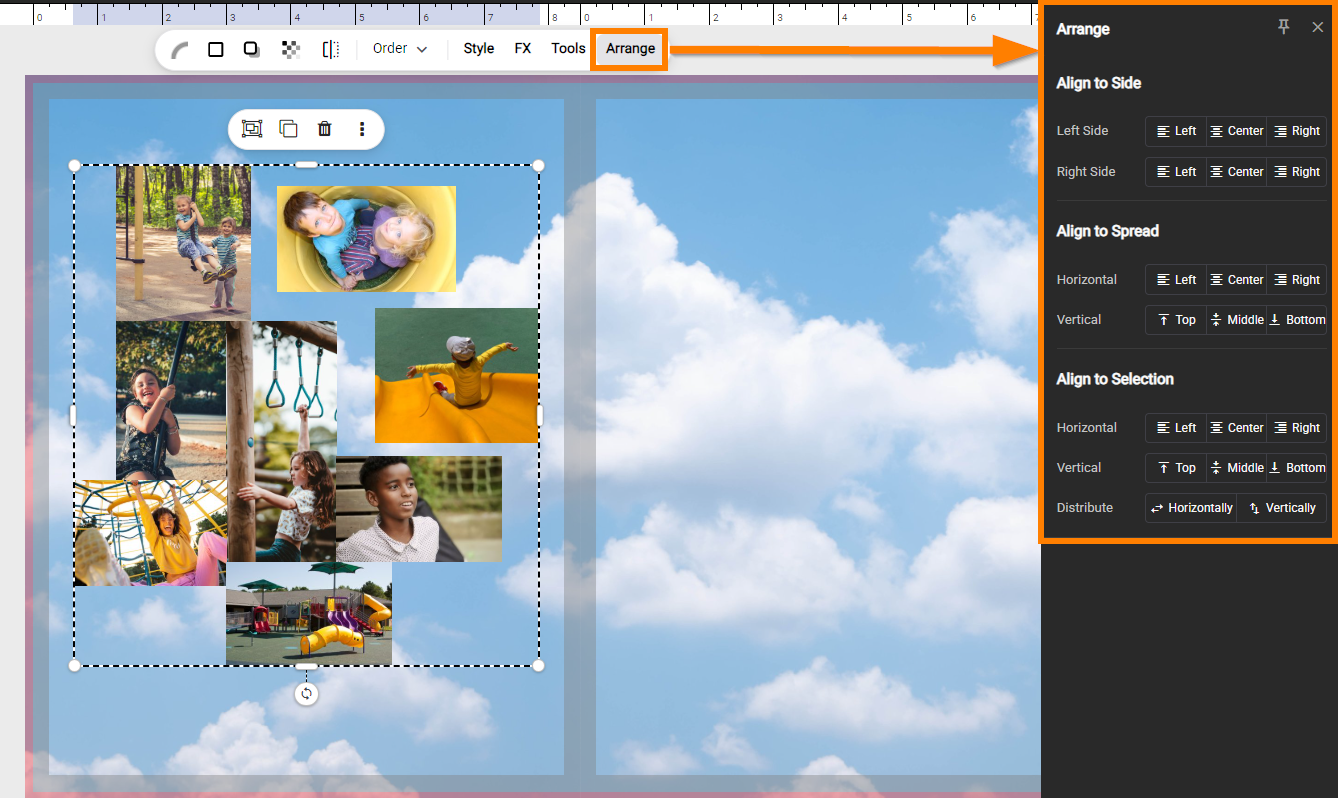 |
Changing frame order
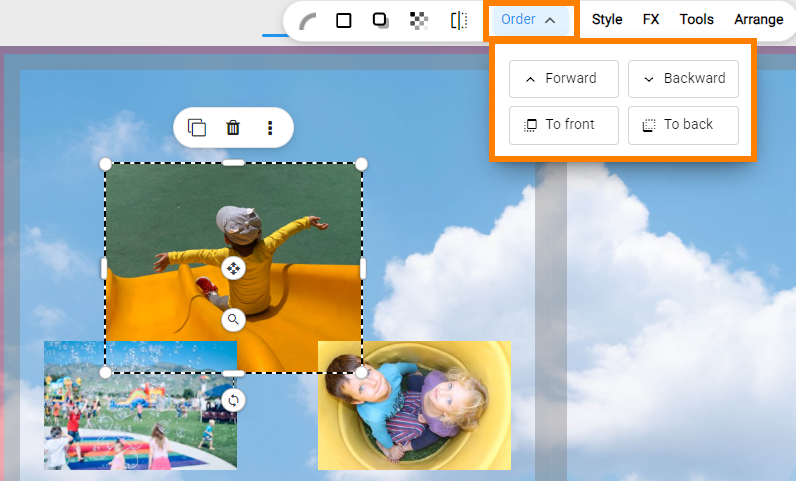
Every frame on your page is placed in a layered order as it is added to the canvas. The last added frame will be at the top of the stack. To move a frame up or down the stack, select it, then click on Order on the toolbar. Move the frame to the very top or bottom of the stack, or move frames up/down the stack incrementally.
Was this article helpful?
That’s Great!
Thank you for your feedback
Sorry! We couldn't be helpful
Thank you for your feedback
Feedback sent
We appreciate your effort and will try to fix the article