| Working with Linked Double-Page Spreads | |
| Section Management Basics | Page Management |
Book Ladder Overview
Use sections divide your pages into thematic groupings to help keep your book organized.
A new yearbook project will include two sections:
Add sections to your ladder to sort your pages into thematic groups. | 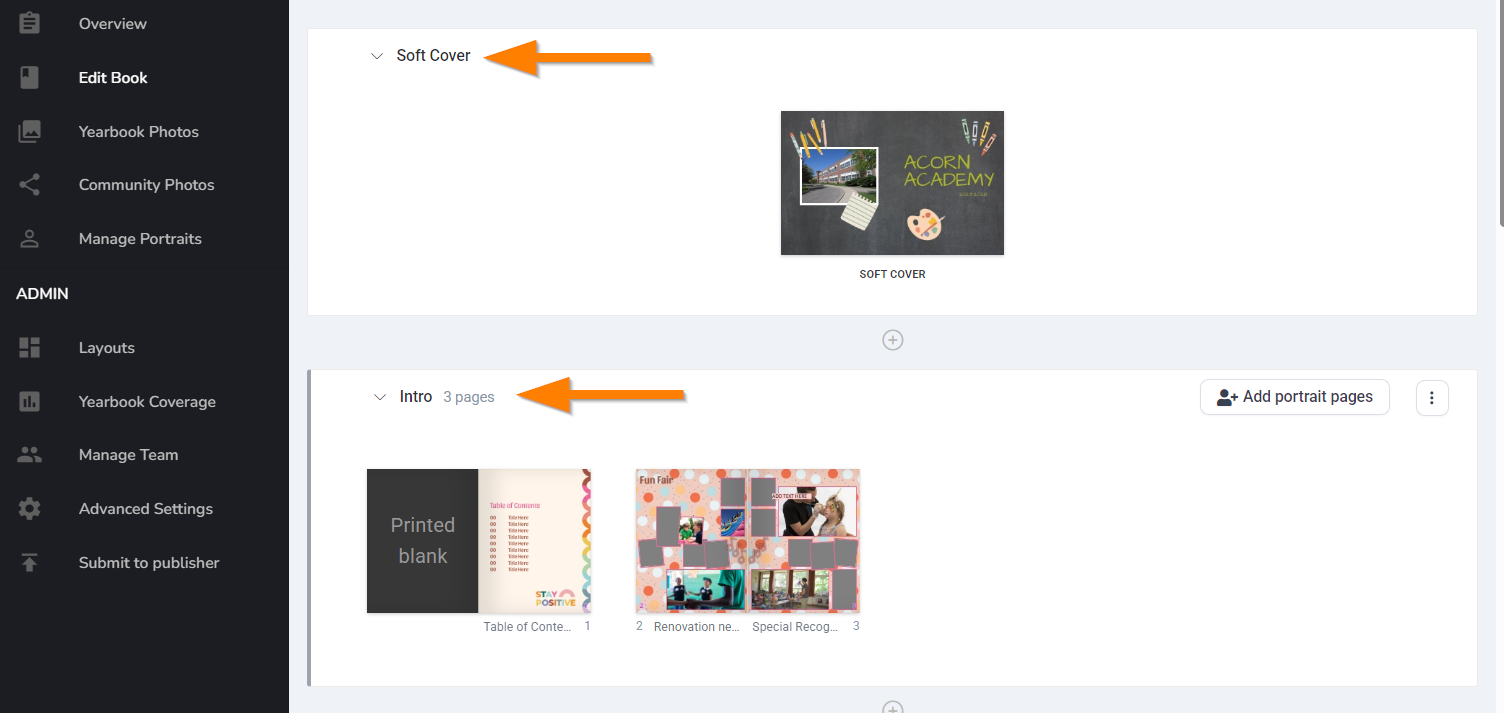 |
By default, your ladder displays sections with small previews of the pages within them, as shown above. To see larger, single spread page previews, turn on the Book Preview tab at the bottom of the page.
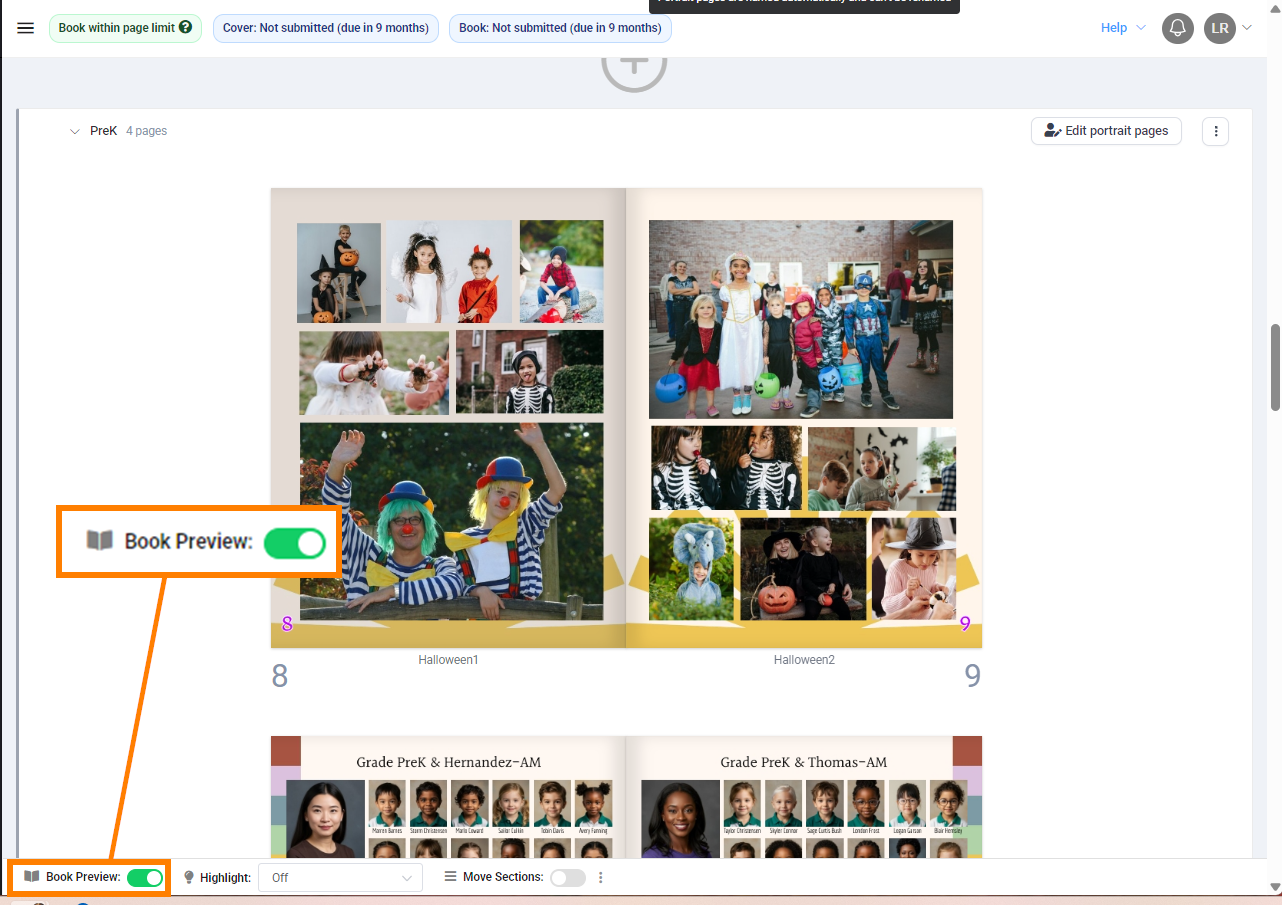
Page numbers and Page Titles are displayed below each page.
| Click into the page title to enter a custom page title under each page. The page title will be visible in the editor as well on the ladder preview. | 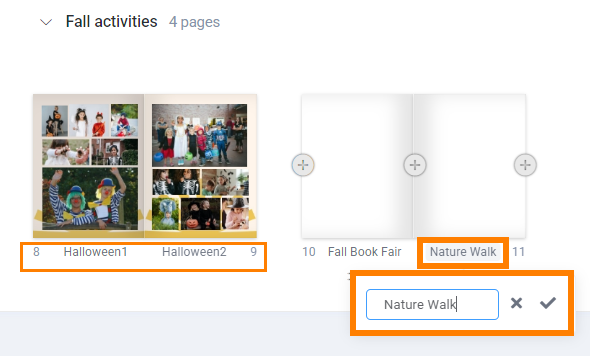 |
Page numbers on the ladder are only for display, to help situate you in the book. Printed page numbers are added in the editor. Page number display may be turned off in the ladder via the menu icon at the bottom of the page. | 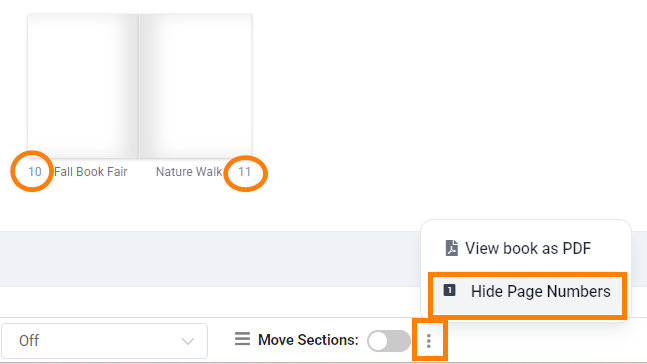 |
Section Management
Adding a section
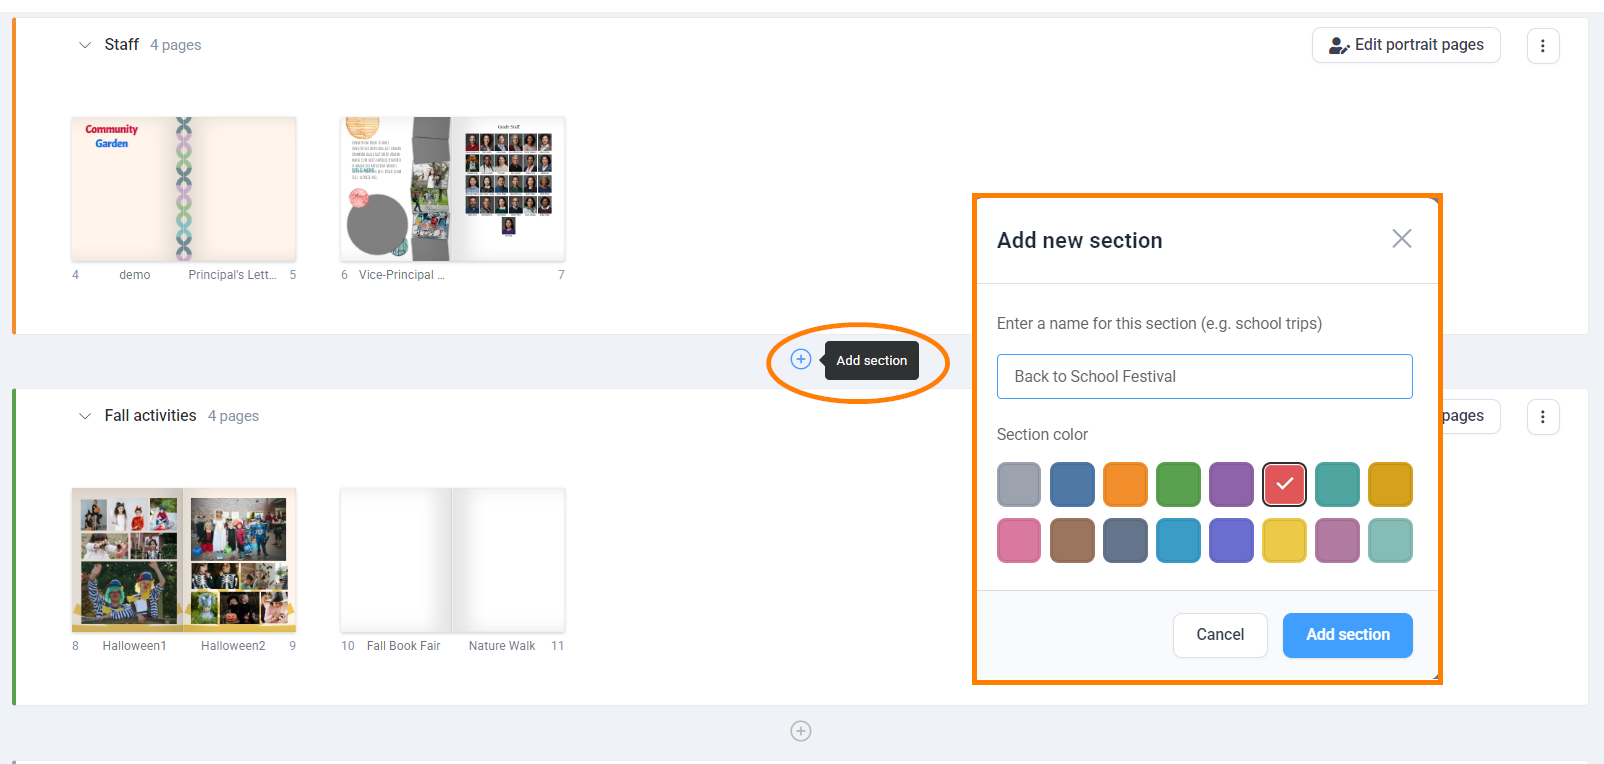
To Add a new section, click on the + icon above or below an existing section. Type the name of the new section, and choose a color for the side bar.
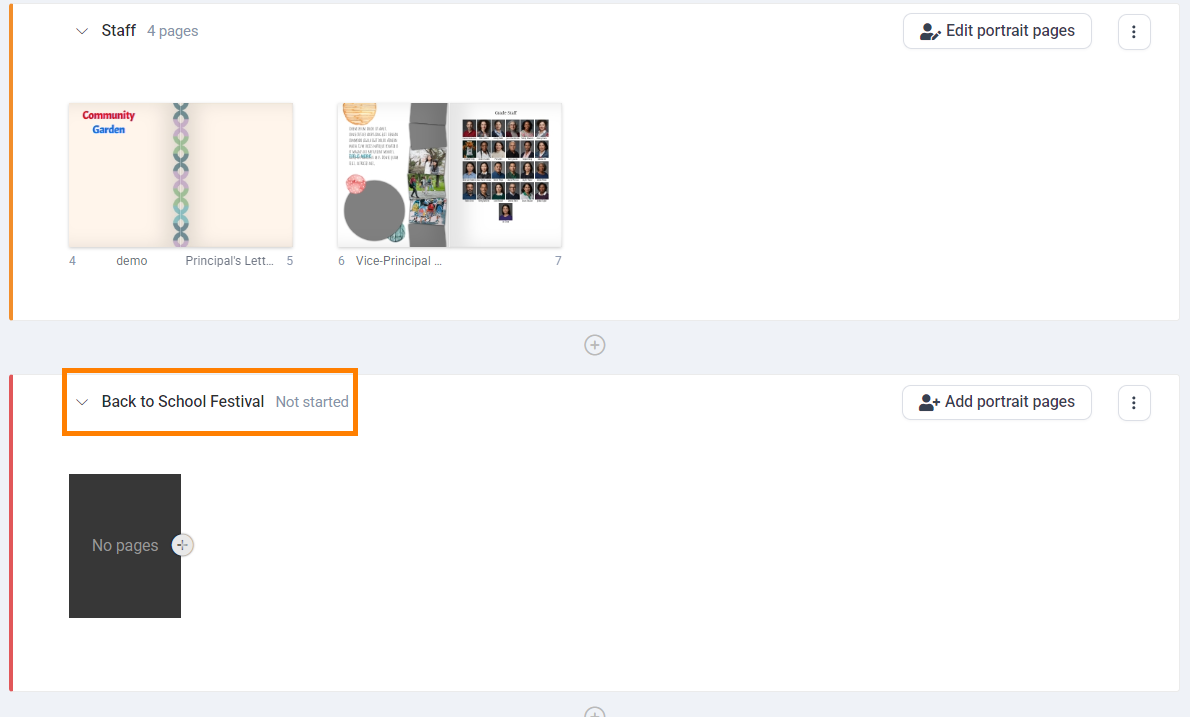
The new section will appear on the ladder, flagged as "not started".
Did you know that Editors-in-Chief can import sections and pages from a previous year's book? Learn more here.
Moving a section
Switch on the Move Section toggle at the bottom of the screen.
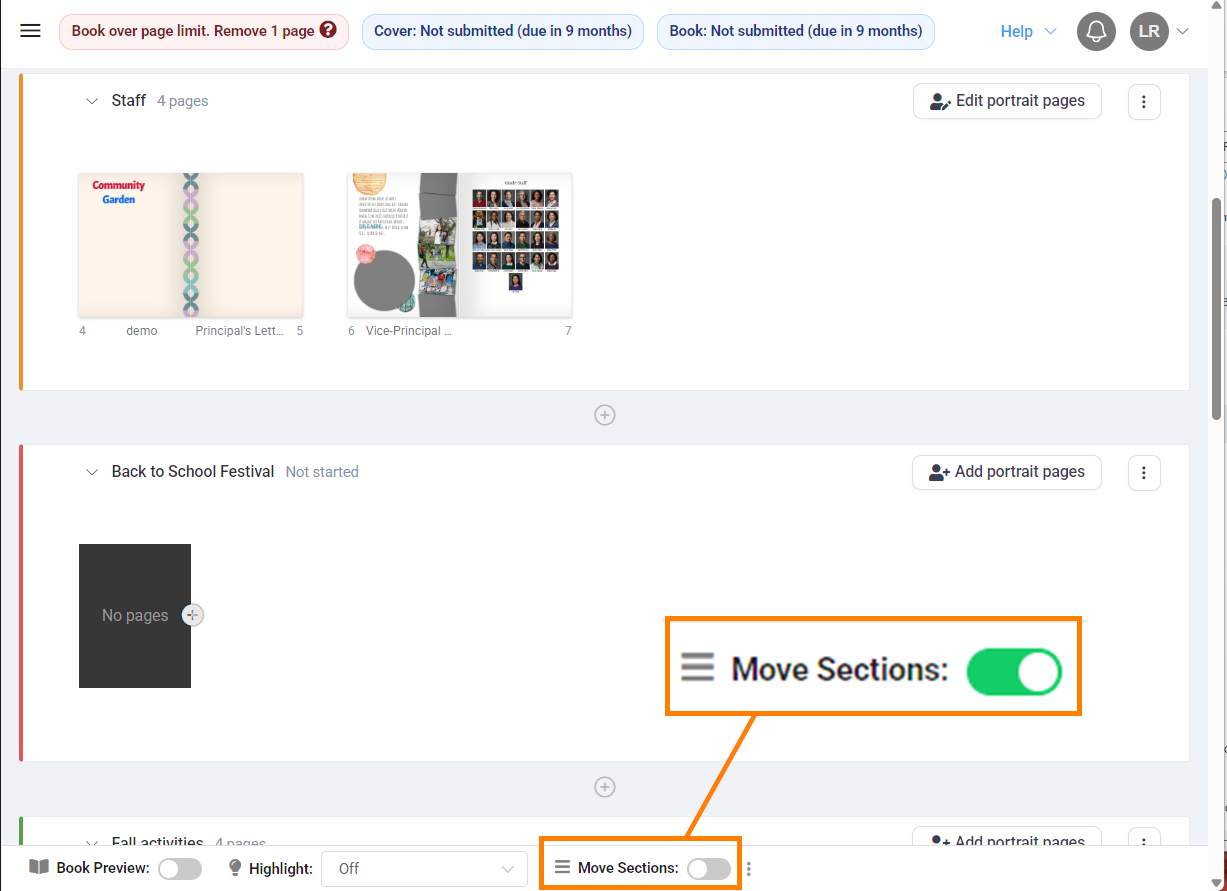
The sections will collapse to a flat list. Drag a section by its handle to a new position in the book. Turn the Move Sections switch off to access the full ladder again.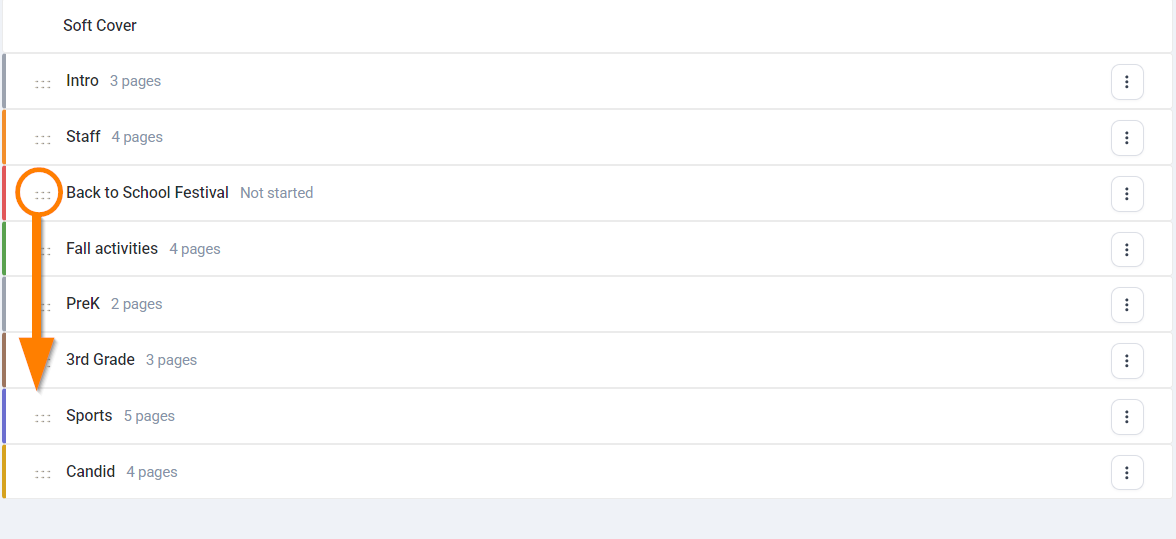
Renaming / resetting the color for a section
Click on the section menu icon on the right side of the screen. Choose Edit Section. Change the section name and/or color. Save the change.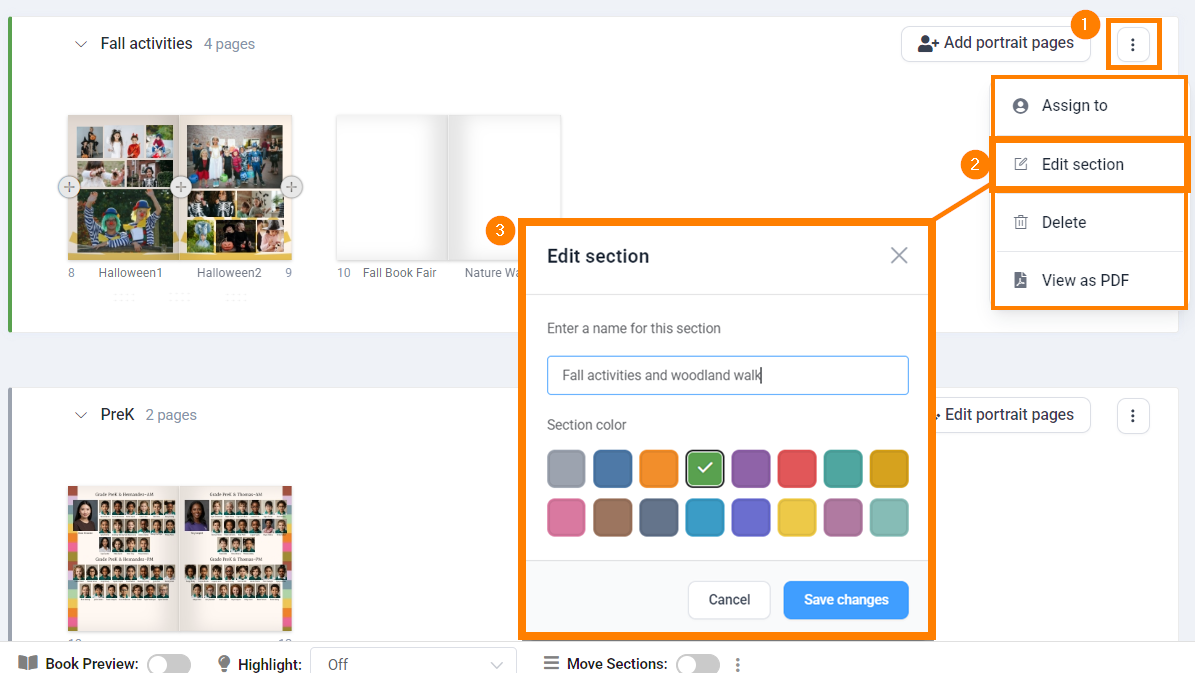
Deleting a section
Click on the section menu icon on the right side of the screen. Choose Delete then confirm your choice. Important: the section and all pages within it will be permanently deleted.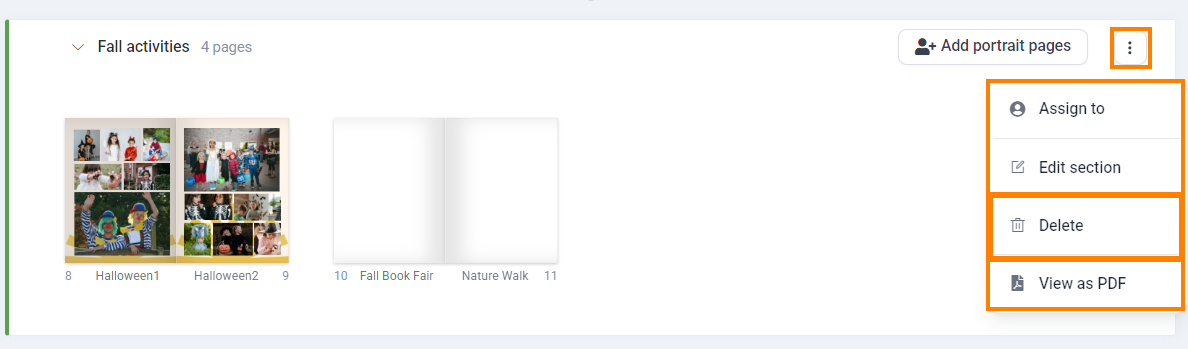
Page Management
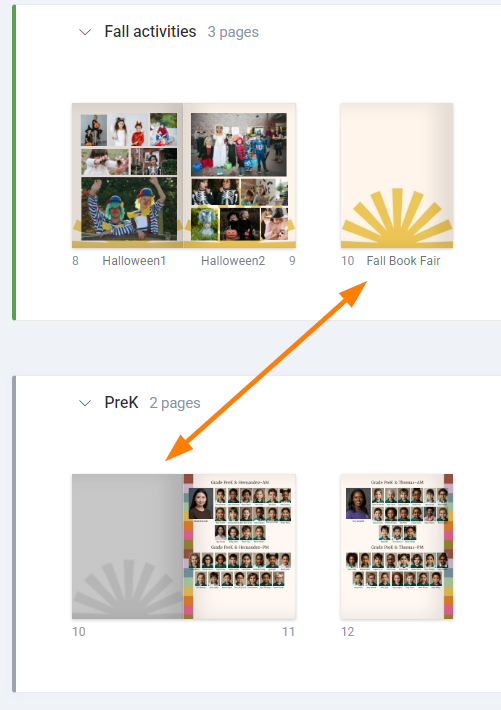
| Pages appear as adjacent left-and-right sides of a double-page spread. If a section starts with a right side page, a "ghost" preview of the adjacent left- side page appears next to it, to help visualize how the printed book will appear. Hover over an individual page to access the Edit button, which will launch the page in the editor.
|  |
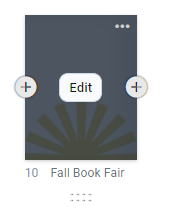
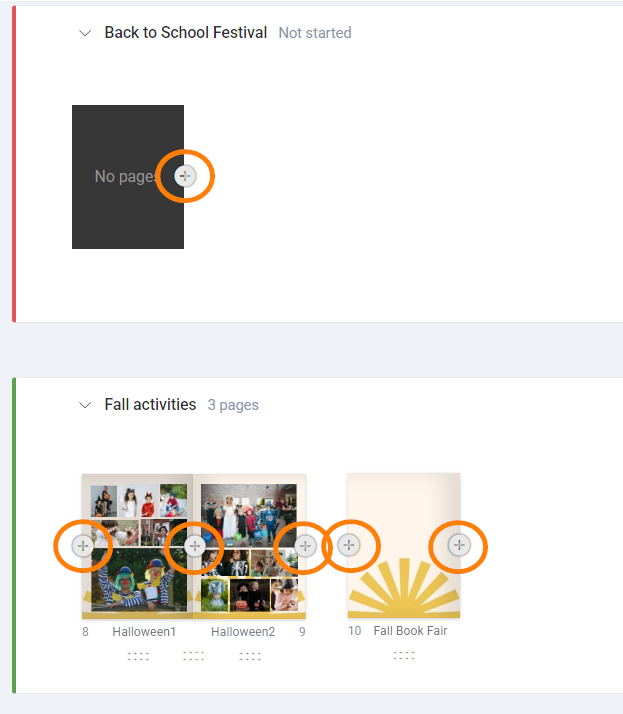
Adding pagesTo add one or more pages to a section, hover over a page to reveal the + page button on either side of the page. Empty sections will display the + page button at all times. | 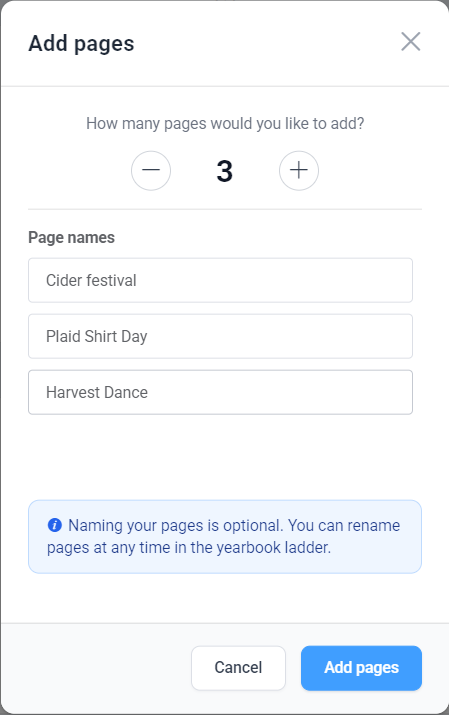 |
Moving pages
| Hover over a page or spread to reveal its handles. Drag on either the left-side handle or right-side handle to move an individual page to a new location on the ladder. Drag the middle handle to move the entire double-page spread. Portrait pages cannot be dragged into a new ladder position and will not show handles. Candid pages may be moved around and between portrait pages. If you need to reorder portrait pages, reflow the groups. | 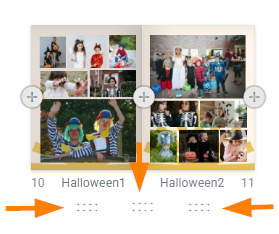 |
Pages may be moved between sections. If the sections are far apart, click on the V button next to the name of sections to collapse them so the original and destination sections are closer together, and/or move the page incrementally from section to section until it is placed in its new position. | 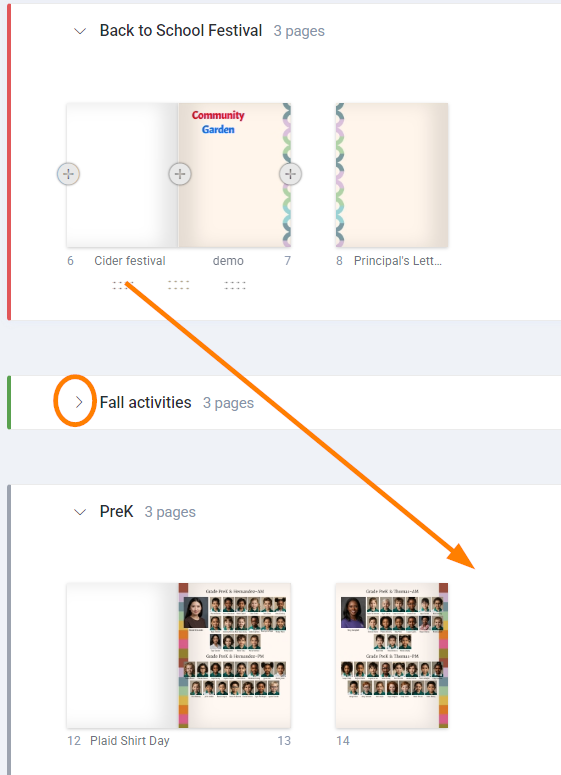 |
Duplicating a pageAfter checking out the book, hover over a page to access its menu icon, then choose duplicate.An exact copy of the page will appear next to it. Duplication is a quick way to create a layout to repurpose with new photos. | 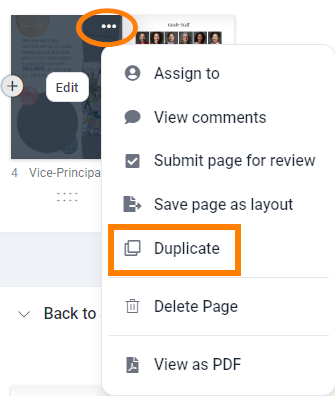 |
Deleting a pageClick on the page menu icon to access the delete pages option. Choose delete page, and confirm your choice. Important: Deleted pages may not be restored - so be very careful when removing pages from your book! If the selected page is part of a double-page spread, the option to delete both pages in the spread will be available. | 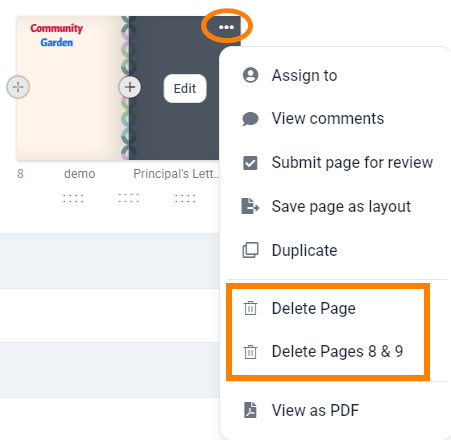 |
Working with Linked Spreads
This indication suggests that pages should not be added between the spread. | 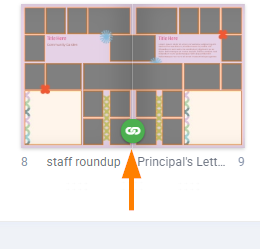 |
| If the pages should become split up -- either with one or more pages added between them or by a change to the page count above the spread -- then a warning icon indicates that the pages have become unlinked. To fix unlinked pages, either resolve the page ordering issue on the ladder so they are facing each other again, or permanently unlink them. Click on the red link button to access the Unlink Pages button. 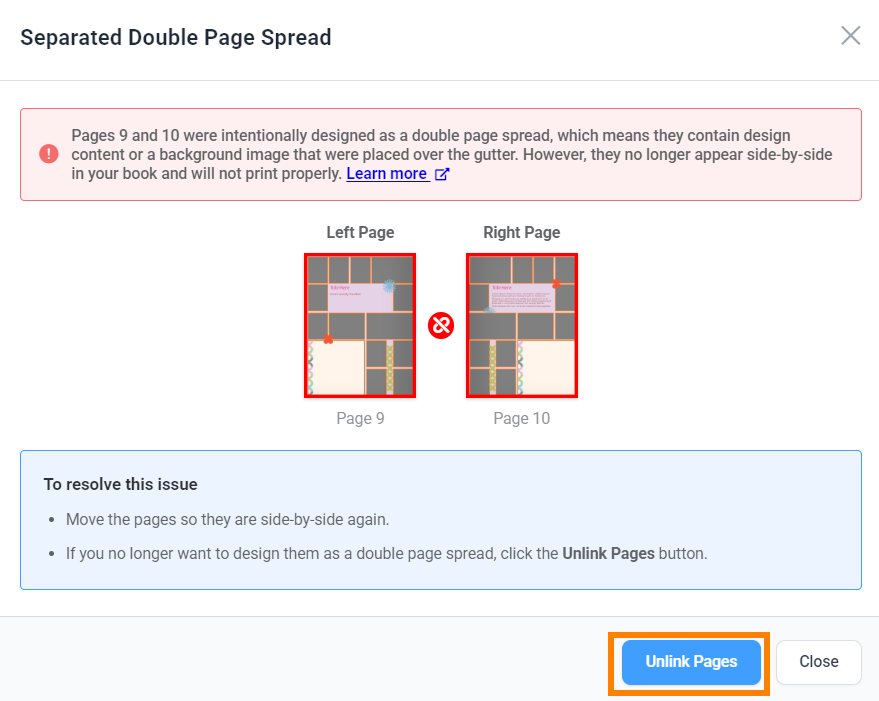 | 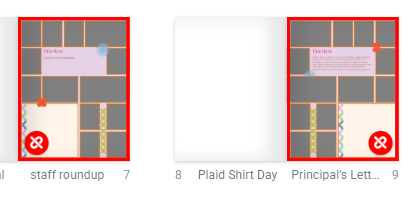 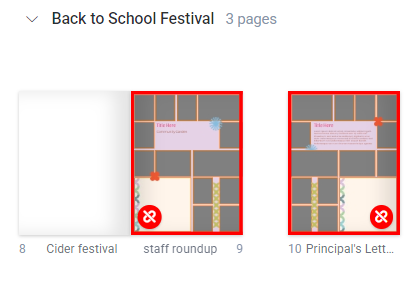 |
Important: If a designer with the role of staffer needs to work on a double-page spread, then they must be assigned to both left- and right-pages.
Was this article helpful?
That’s Great!
Thank you for your feedback
Sorry! We couldn't be helpful
Thank you for your feedback
Feedback sent
We appreciate your effort and will try to fix the article