Portrait pages may be customized after flowing portraits into your book on the book manager, Preset makes this task easier, but you can further customize your book with Advanced Settings.
Accessing the Portrait Lab in the Editor
| To customize a portrait page, hover over it in the ladder. Click Edit to launch the page in the Editor. | 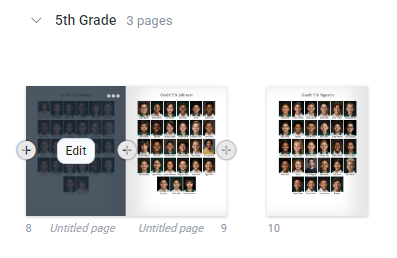 |
Access the Portrait Lab in the Editor.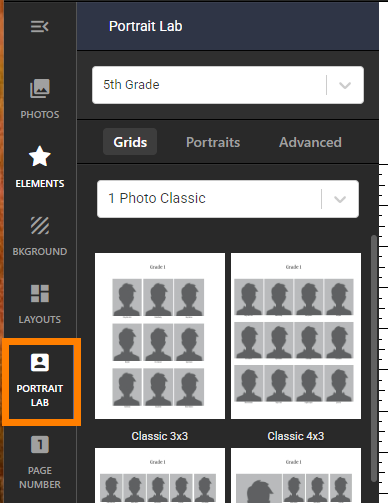 | The section title appears at the top of the Portrait Lab. To move to a different portrait section, click on the V button to choose the new group. 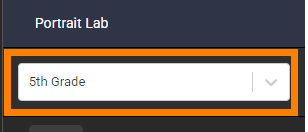 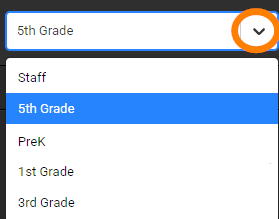 |
Three configuration tabs are offered at the top of the Portrait lab: Grids, Portraits and Advanced. | 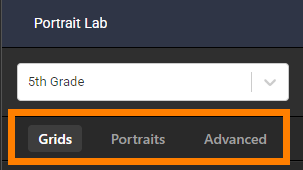 |
|
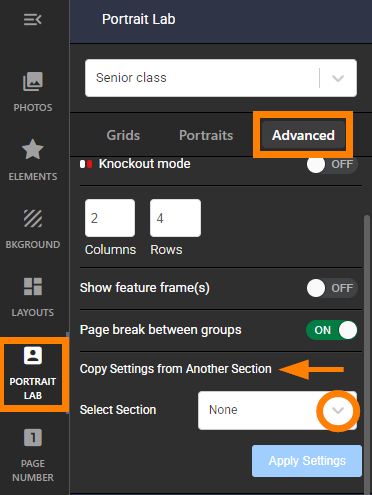
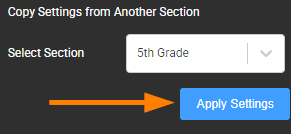
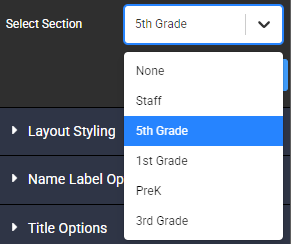
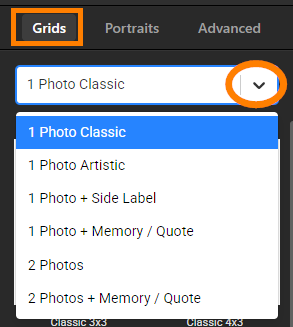
Grid PresetsGrids offer quick layout preset options, organized by the grid style. Portrait layouts are organized by number of photos, label position and other options. Click on the V button to switch categories. Note that some grid options require special configuration in the portrait manager.
|  | |||
For standard portrait grids, choose one of the following options:
|
|
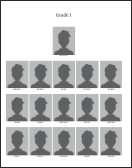
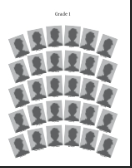
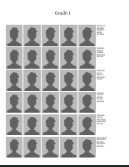
For senior class special pages, explore the following options.
|
| |||
Advanced settings for duo photo and memories/quotesSenior portrait templates offering two photos and/or memories & quotesrequire advanced configuration to specify which photos and text to use from the portrait database.
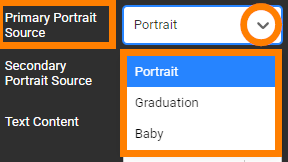
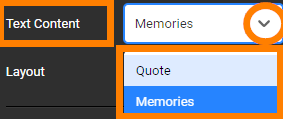
Choose the portrait source for the primary and/or secondary photo in the template. Choose the text content source. | 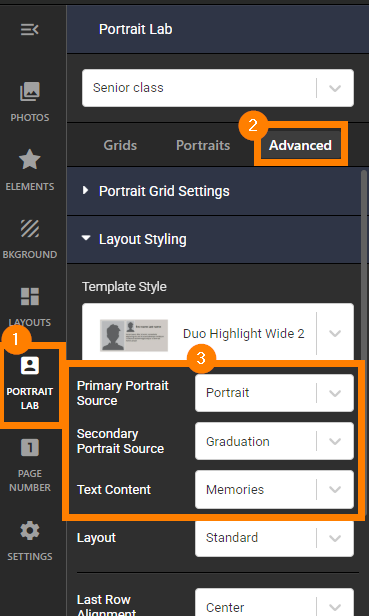 |
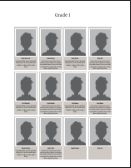
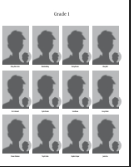
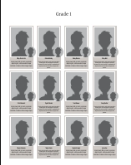
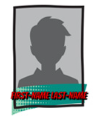
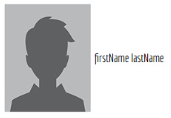
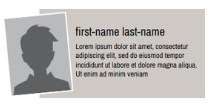
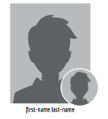
Portrait PresetsPortraits offer quick access to portrait templates organized by the type of portrait style. Templates are organized under a drawer by number of photos, label position and other options.Click on the V button to switch categories. Note that some template options require special configuration in the portrait manager.
Portrait templates may be customized: adjust image frame border and shape options, label text font and size options, recoloring decorative elements, etc. Consult the portrait preset look-book for full details and customization advice. | 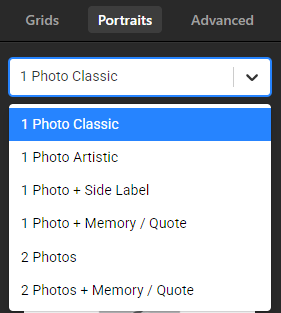 | |||
For standard portrait grids, choose one of the following options:
|
|
For senior class special pages, explore the following options.
To accommodate wider or taller portrait templates, access the Advanced tab to adjust portrait grid settings (rows & columns). For duo image portraits, access the Advanced tab to adjust layout styling, specifying with portrait to use in both primary & secondary frames (see above for complete info). |
|
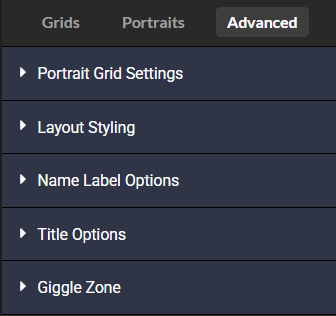
Advanced SettingsAdvanced settings may be combined with Grid and Portrait presets to customize your portrait grid. Advanced options include:
|  |
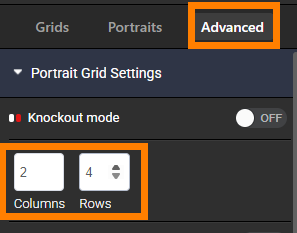
Changing the number of rows and columnsIncrease or decrease the number of rows and/or columns in your grid. The portrait grid resizes each portrait template to fit to the grid at the current row and column settings.
|  | ||||
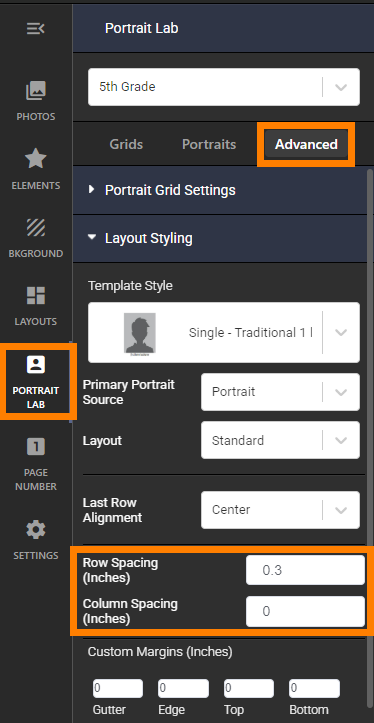
Row and column spacingIncrease or decrease the spacing between rows and columns in the grid.
|  |
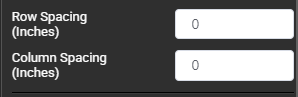
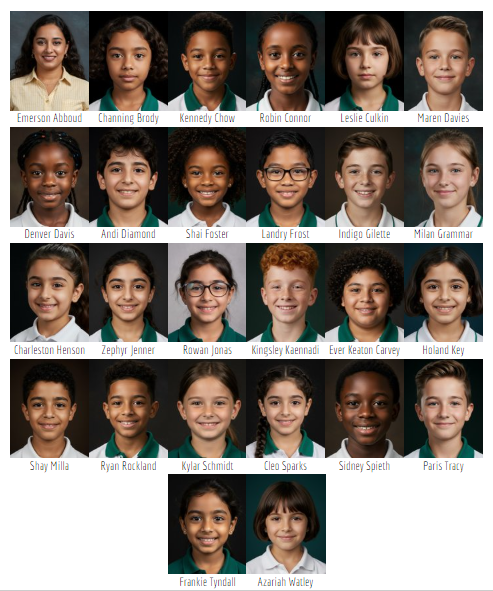
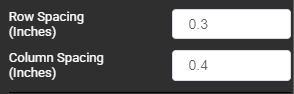
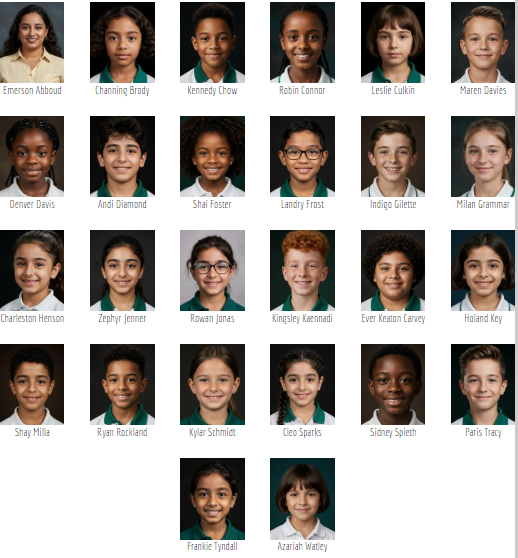
Custom marginsAdding a custom margin to the portrait grid will inset the grid away from the safe margins from the page edge, to clear space on the page for candid photos or decorations. Apply a custom margin on the page gutter, edge, top and bottom, as desired. 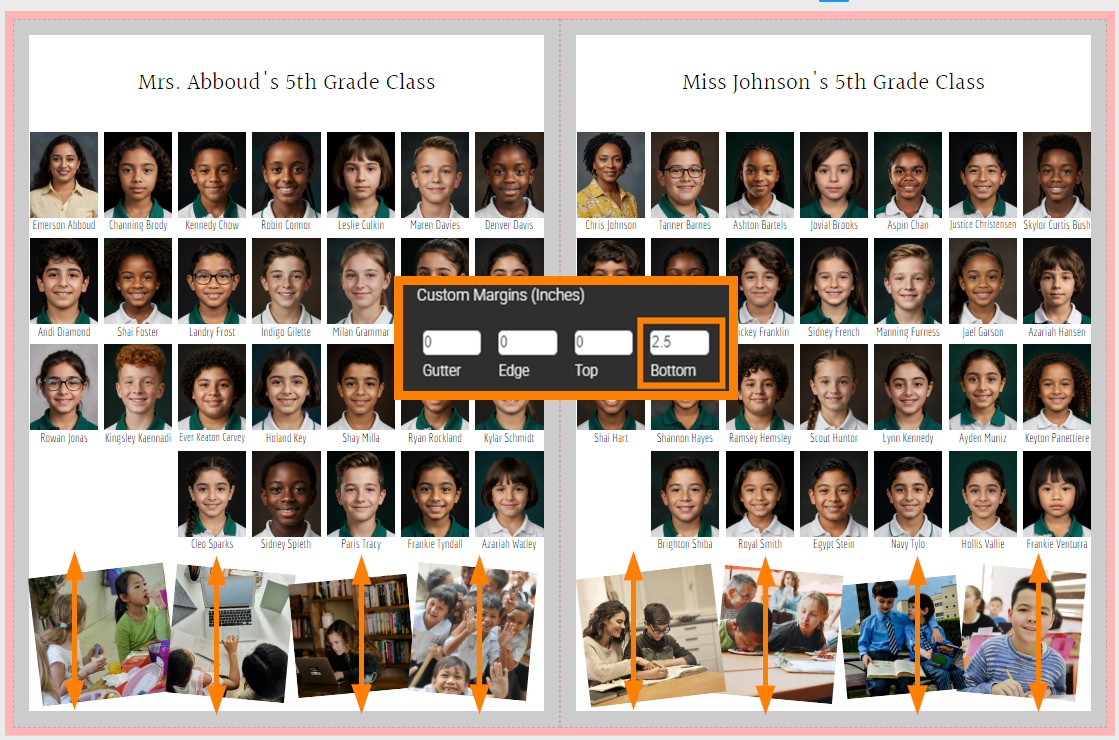 | 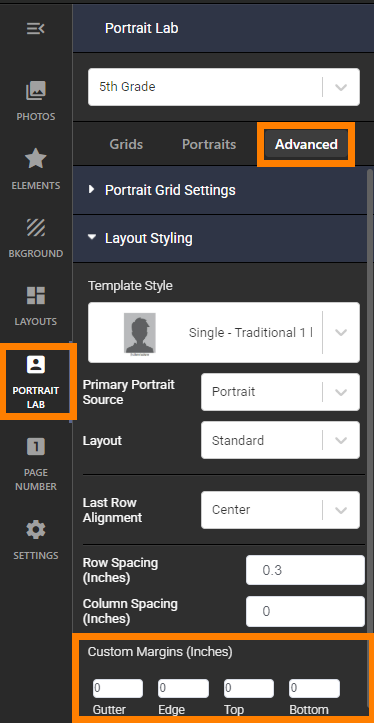 |
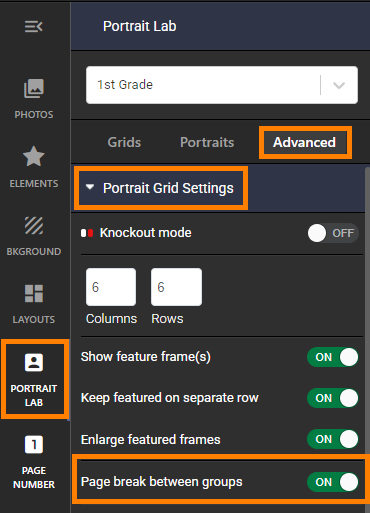
Turning page breaks on and off between groupsTo condense smaller portrait groups to a page or to simply continuously flow between groups, turn off the page breaks between portrait groups.Note: Increase the number of rows and columns to allow more frames per pages. Change the page title height as well.
|  |
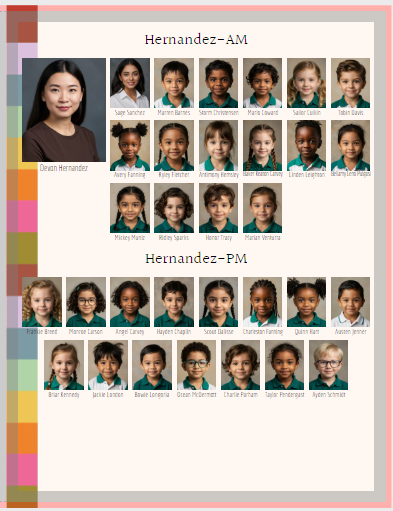
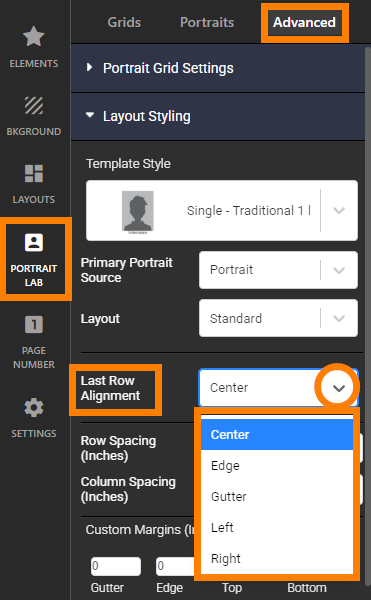
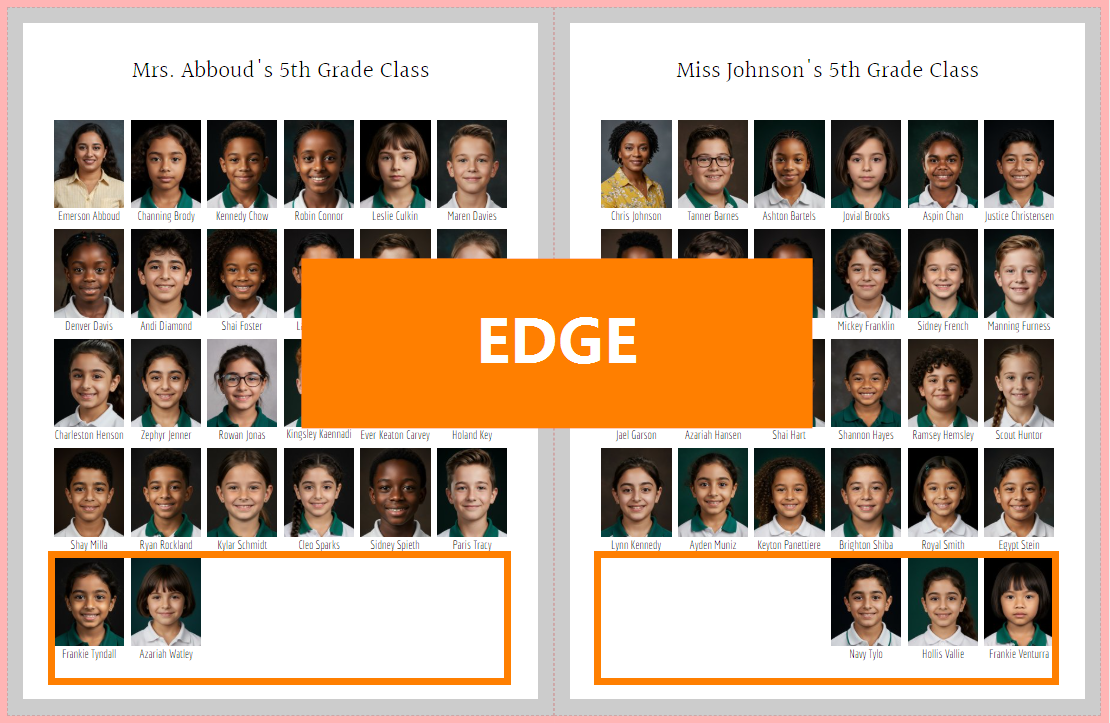
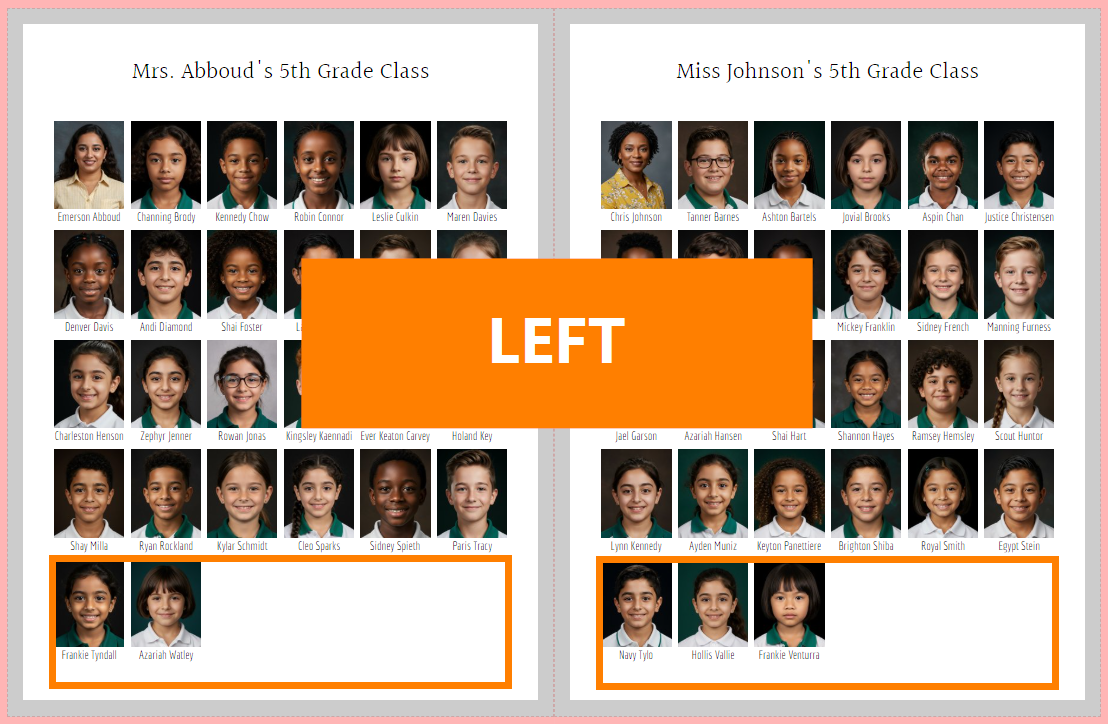
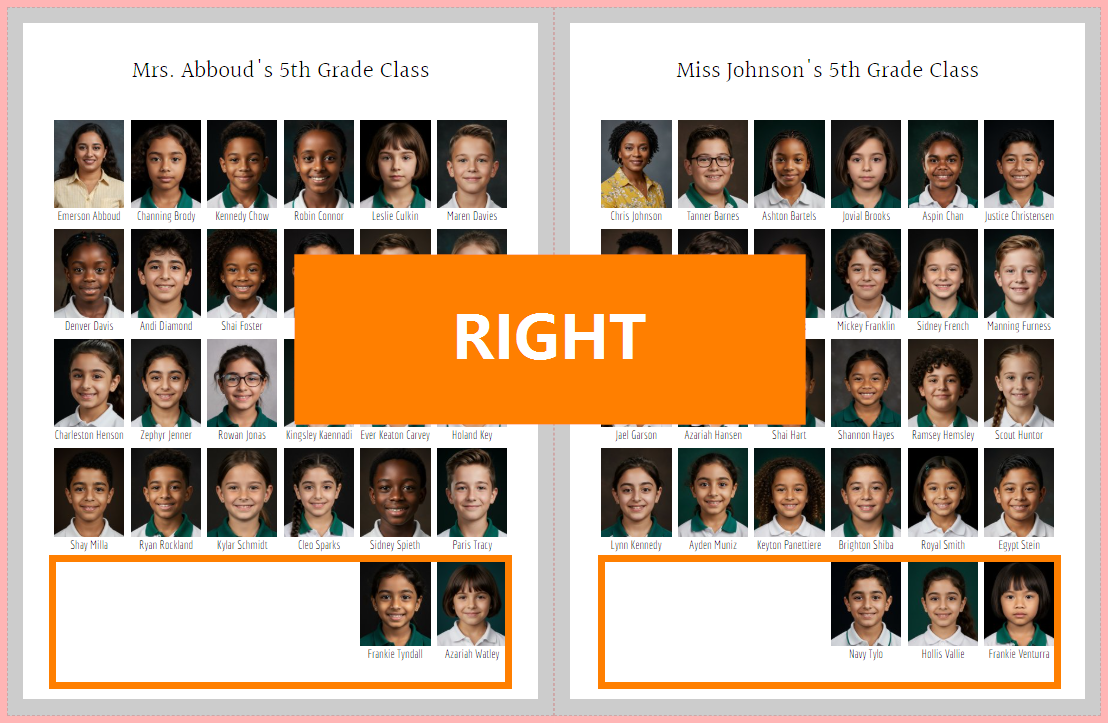
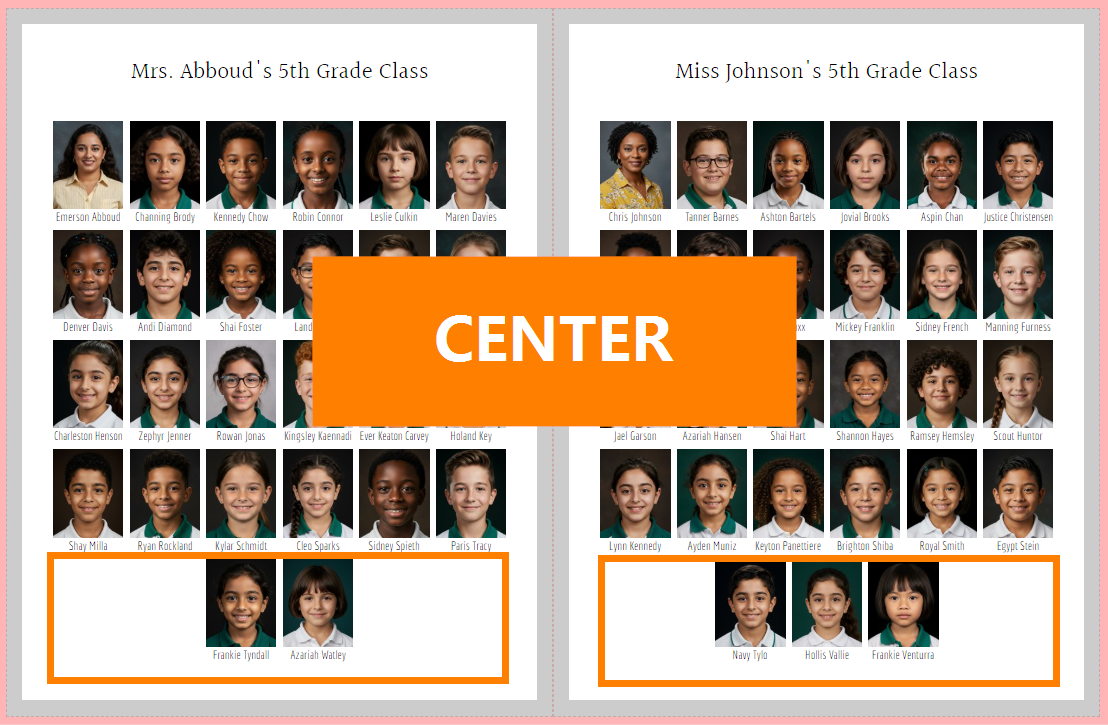
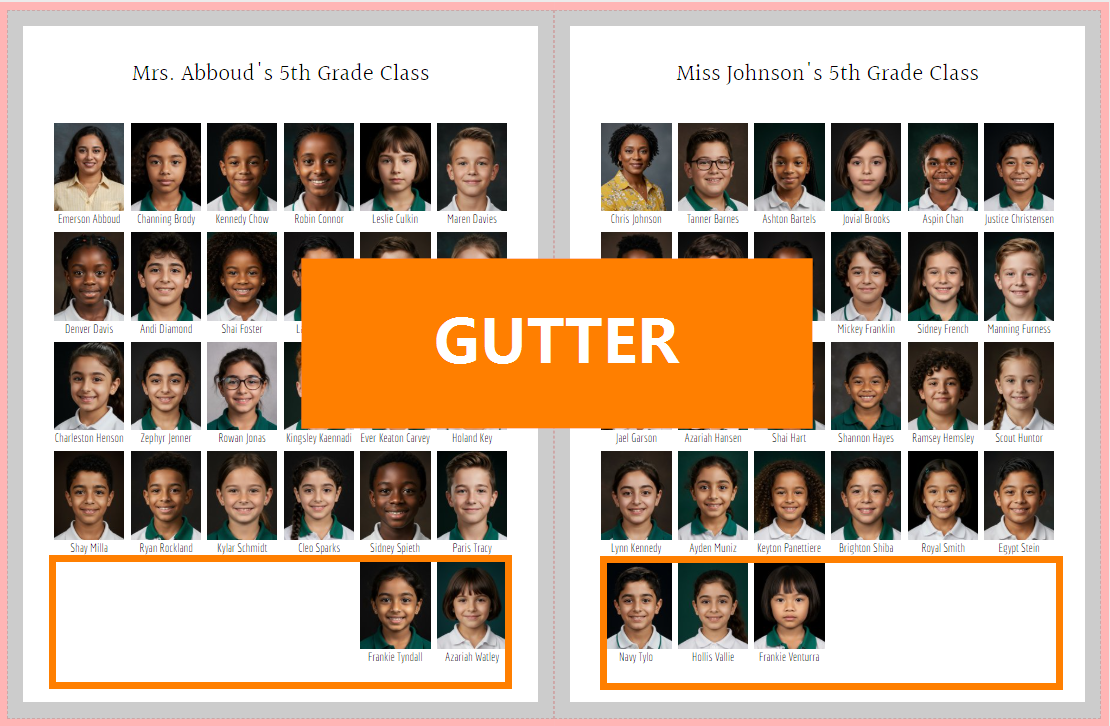
Last row alignment optionsIncomplete portrait rows may be aligned to portrait grid. Choose to align the last row to the center, edge, gutter, left or right side of the page.
|  |
 | |
 |  |
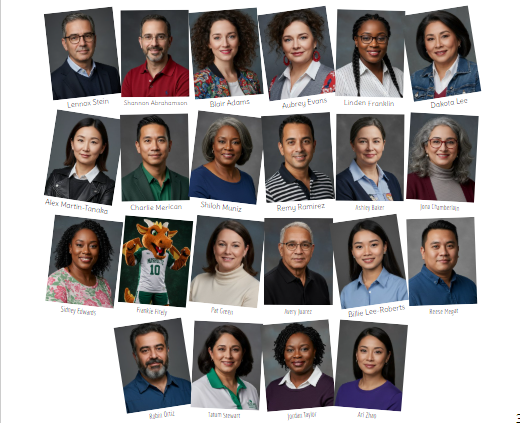
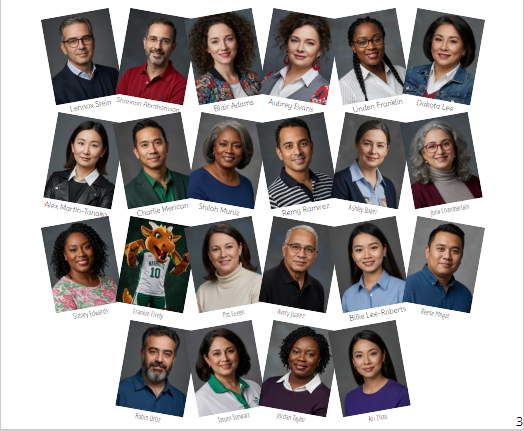
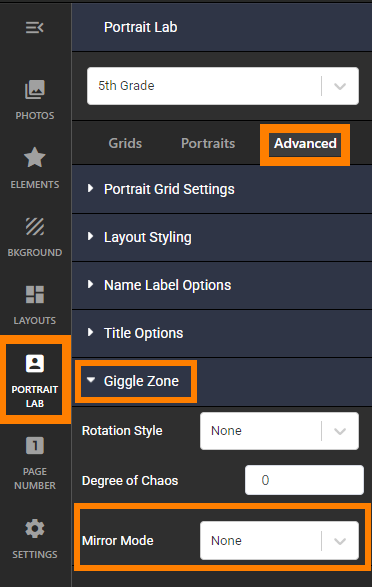
Rotation style & degree of chaosRotation Style sets the type of portrait rotation: random, rotated left or right, alternating rows, arc or alternating portraits. Degree of chaos sets the angle of rotation. A recommended 10-20 degree angle is recommended for best effect.
The examples below are formatted using a standard portrait grid option, but you can combine rotation with other layout styles (available under the Advanced > Layout Styling of the Grid presets). Note that feature images placed on a separate row are excluded from rotation | 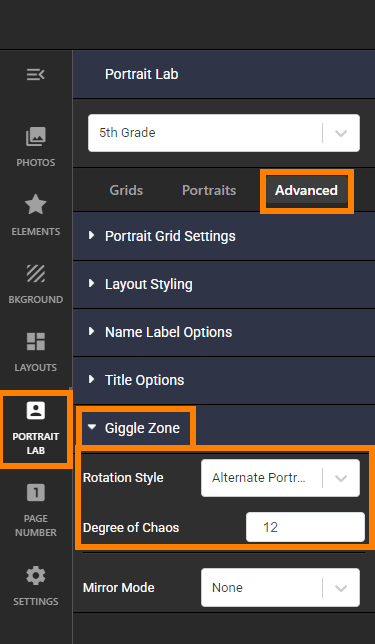 |
|
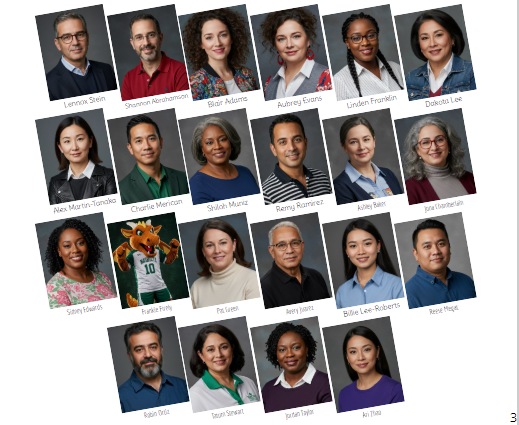
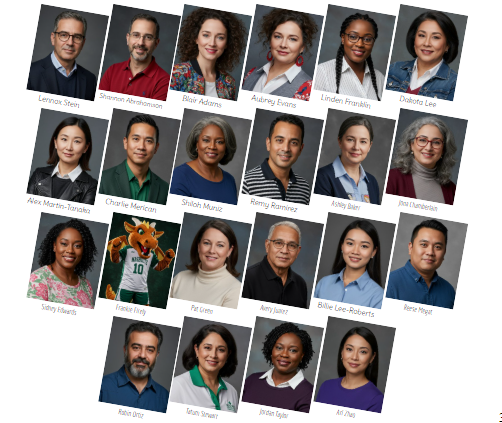
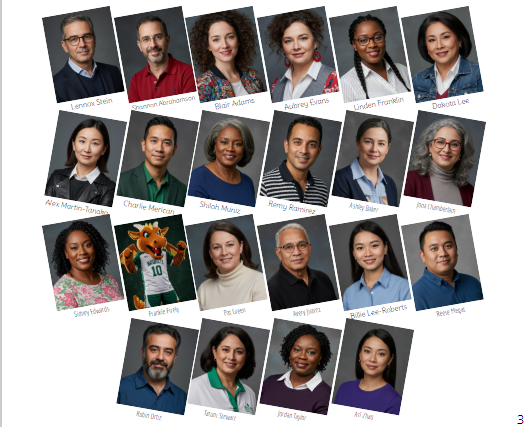
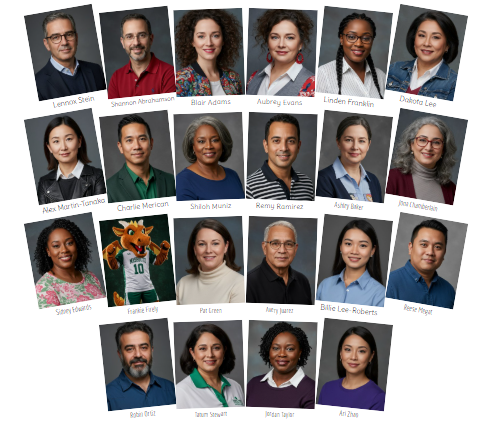
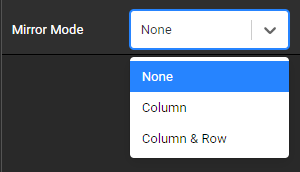
Mirror ModeUse Mirror Mode on portrait templates that have a left-right orientation. The template may be flipped every column or on the column & row.
|  | ||||
Column mirror 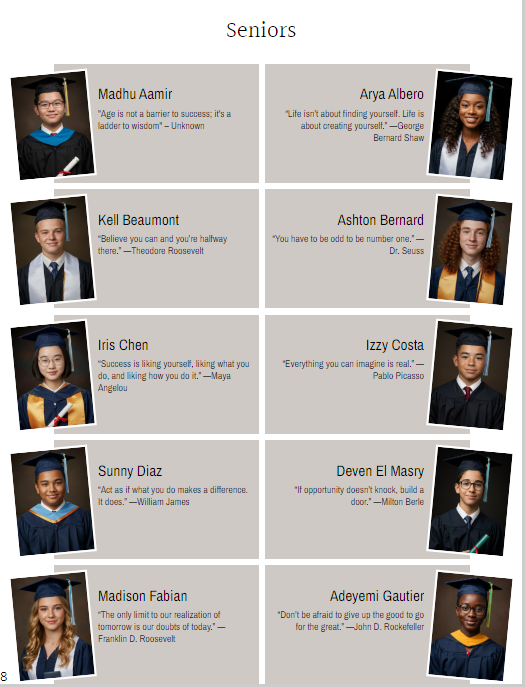 | Column & Row mirror 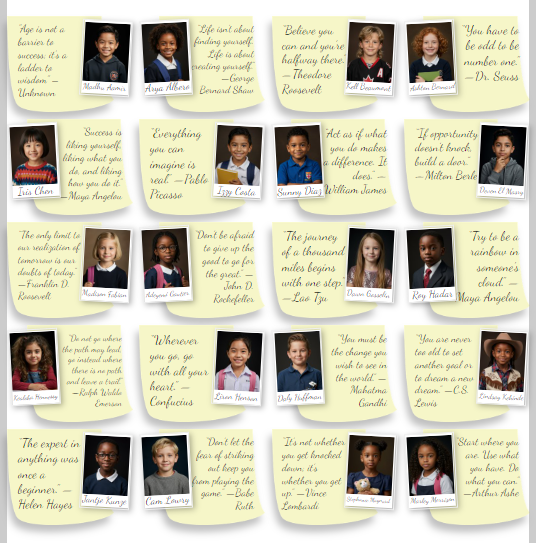 |
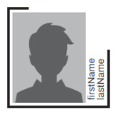
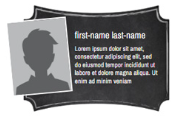
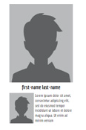
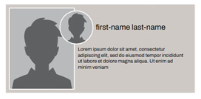
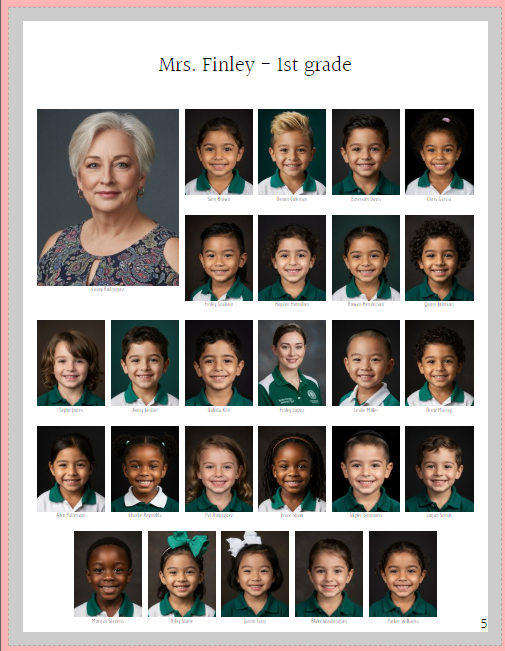
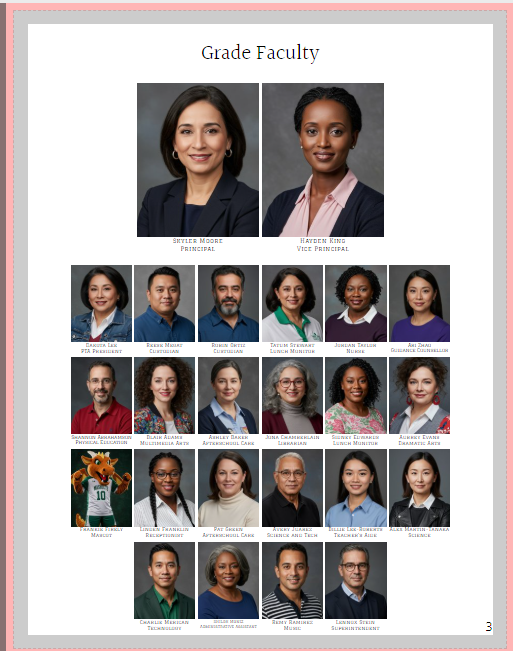
Feature FramesFeature frames highlight designated portraits in the grid. For example, senior administrators may be featured on the staff page, and homeroom teachers may appear at the top of their classroom page. |
| ||
| Important: Featured portraits only works if a role has been assigned to the person who needs to be featured. Commonly featured roles include Teachers, Assistant Teachers, Principal and Vice-Principal. The portrait manager allows you to quickly designate roles for individuals. Learn more about role assignment in the portrait manager. | You can also quickly set a featured portrait in the editor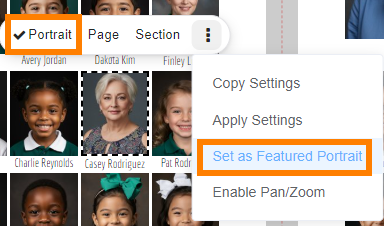 | ||
| Featured portraits may occupy a 2x2 position at the front of the portrait grid, or may place featured portraits on a separate row. Featured portraits on a separate row may be enlarged or kept at the same size as the rest of the portraits. Use a Grid Preset to quickly designate a layout that includes a featured portrait. Layouts will include the word "feature" in their name. Access the Advanced tab to manually turn on the feature frame. Under the Portrait Grid Settings drawer, turn on the Show Feature Frames toggle. 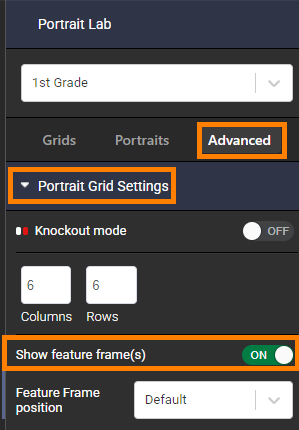 | 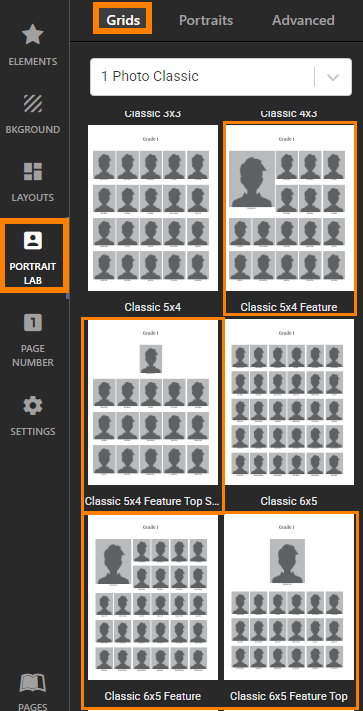 | ||
If the Featured frame is positioned at the start of a row, choose the orientation of the featured frame in relation to the page.
| 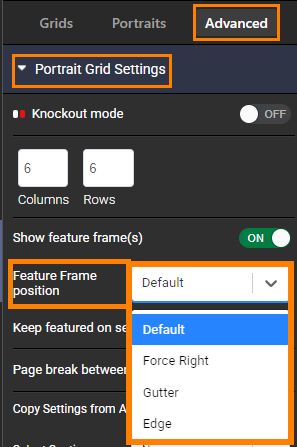 |
Default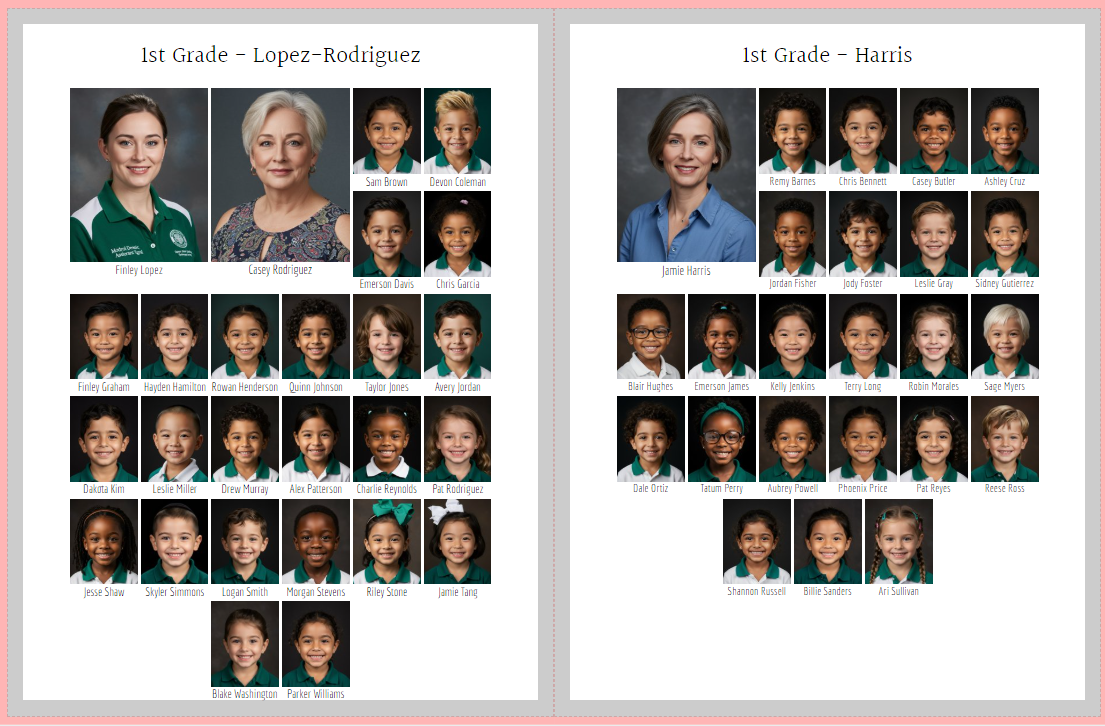 | Force Right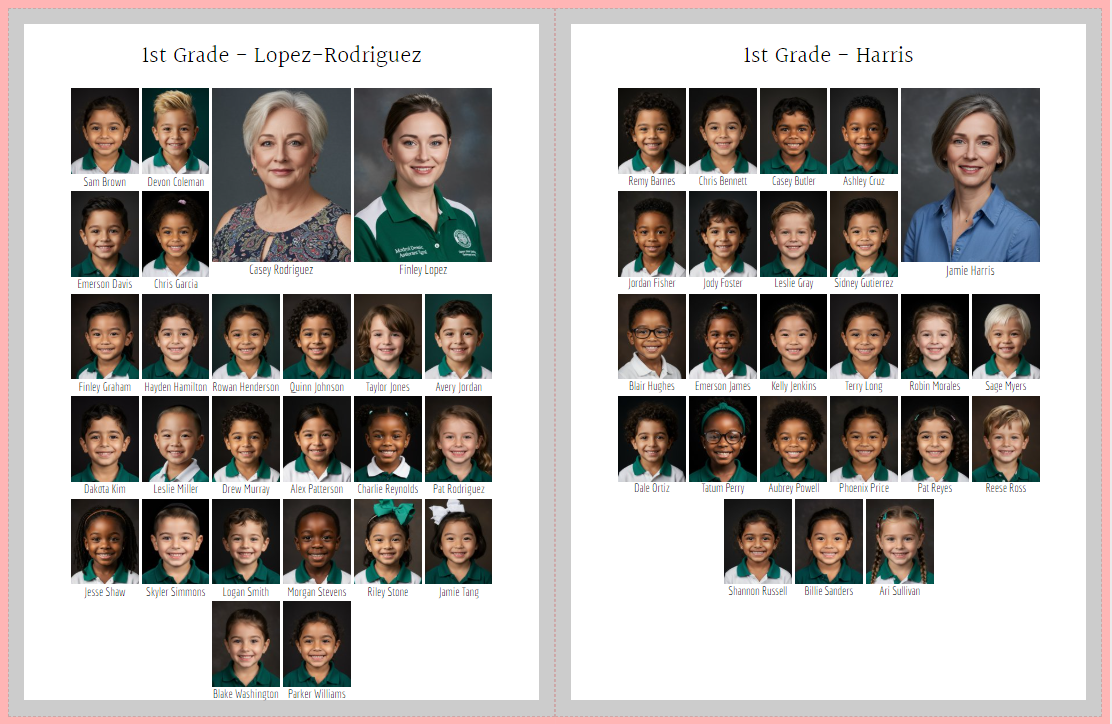 |
Gutter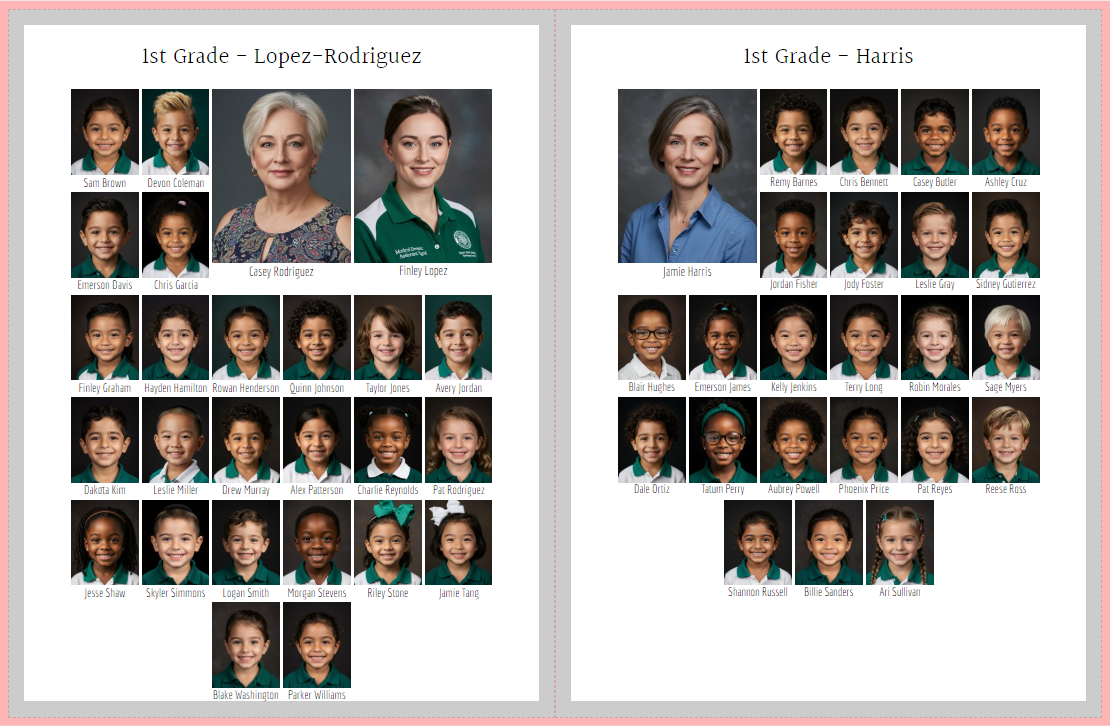 | Edge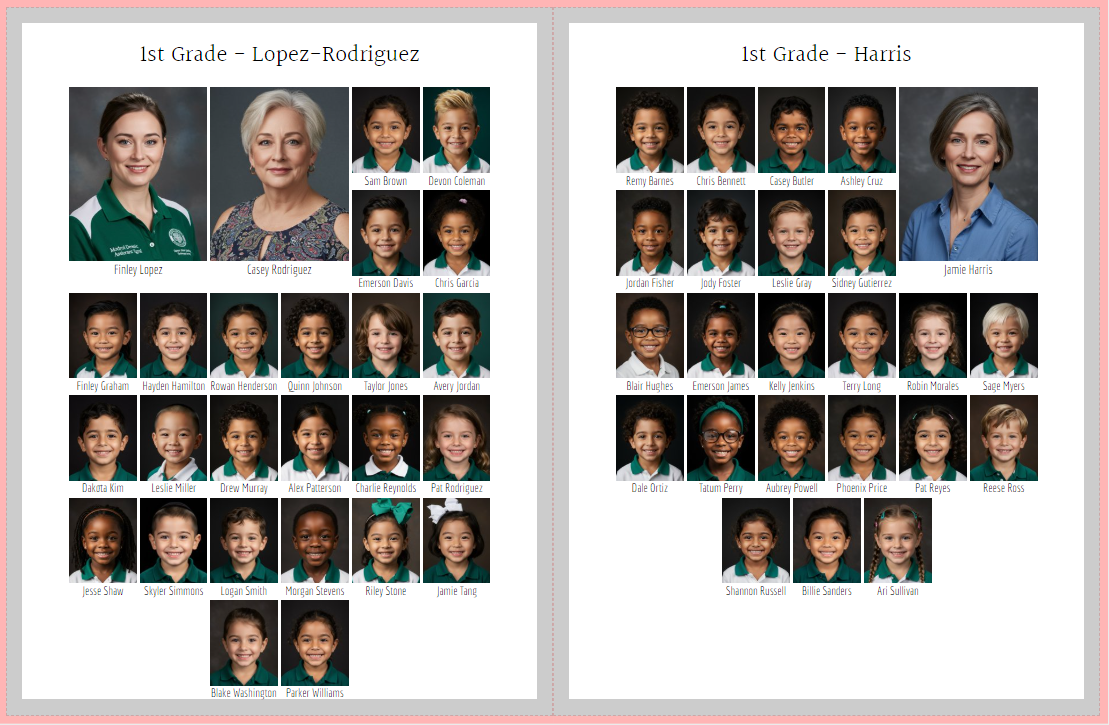 |
The featured frames may be set on a separate row.
If the featured frames are on a separate row, choose whether they should be enlarged or remain the same size as the other portrait frames. | 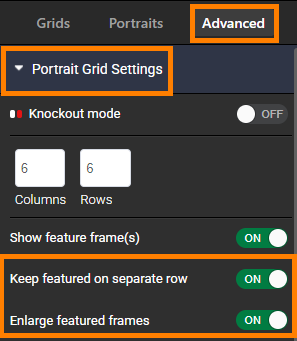 |
Featured on separate row, not enlarged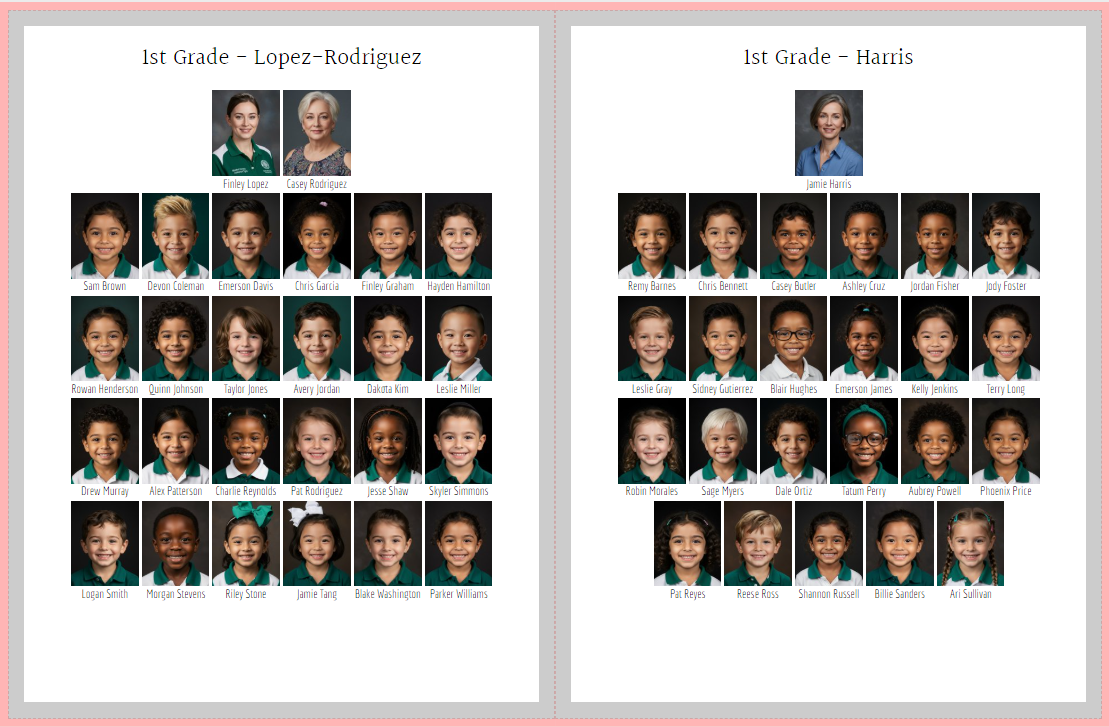 | Featured on separate row, enlarged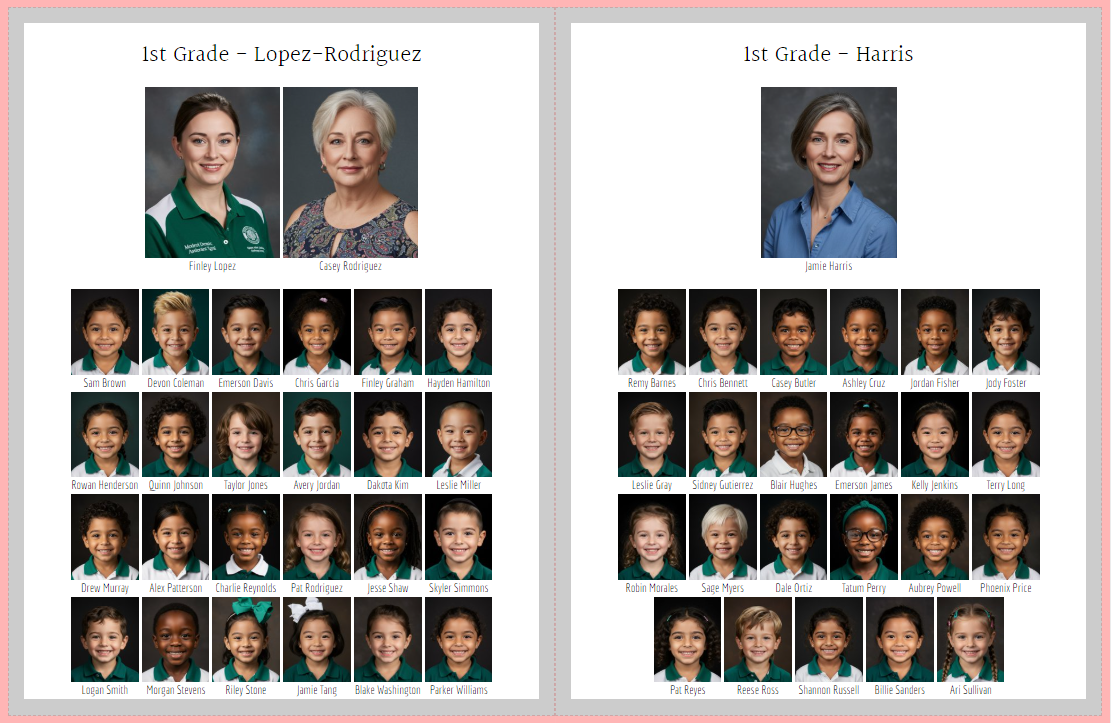 |
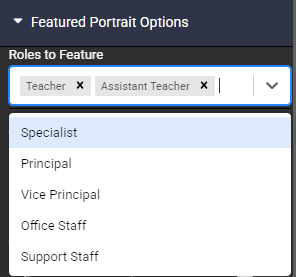
Featured Portrait OptionsSpecify what role to feature in the portrait grid.
 | 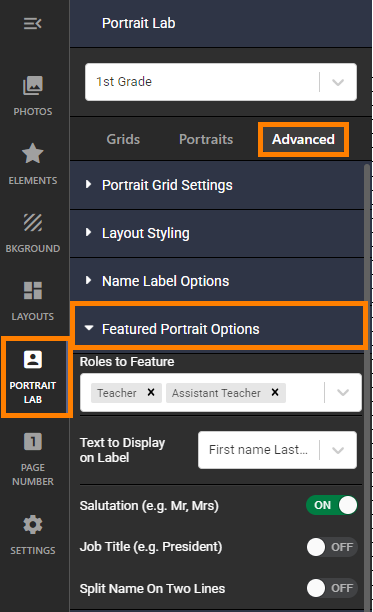 |
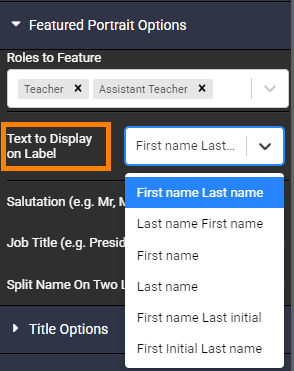
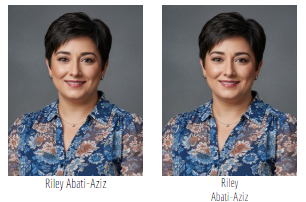
| Specify how the featured portrait labels should be formatted. First, set how the name should be formatted.
|  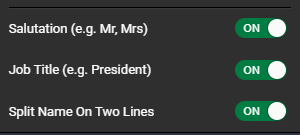 |
Last Name only + Salutation on 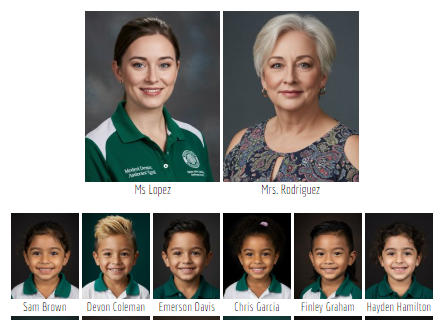 | Job Title 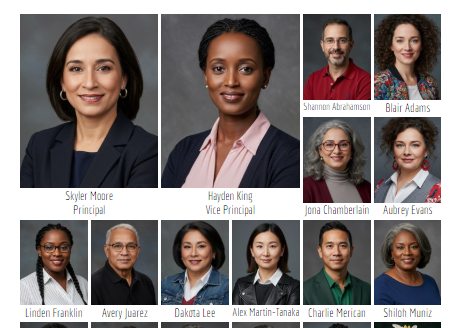 |
Making spaces in the grid (knockout mode)Create spaces within your grid with knockout mode.
| 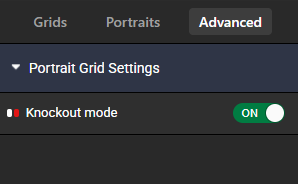 |
| The portrait page grid will show eye-icons on each portrait image. Click on the eye-icon to turn the portrait on or off. Turning a portrait off will not delete the person from the grid. The portrait grid will flow out to accommodate the space. The red space does not appear on your layout; this is a representation of the empty slot. If there is insufficient room to add an extra portrait slot, a new page will be created in the book. Turn the knockout toggle back to off to continue working on your page.  | 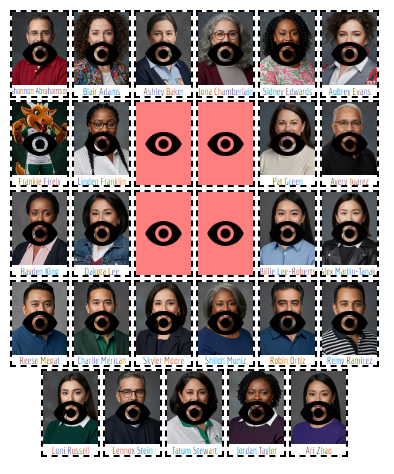 |
TABLE OF CONTENTS
Was this article helpful?
That’s Great!
Thank you for your feedback
Sorry! We couldn't be helpful
Thank you for your feedback
Feedback sent
We appreciate your effort and will try to fix the article