Access Manage Portraits to import a portrait package, edit portrait data, and add/replace portrait images. Any changes made in the portrait manager will automatically apply to portrait pages added to the book. Editors-in-Chief and Editors with permission may access this feature. | 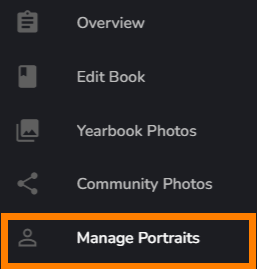 |
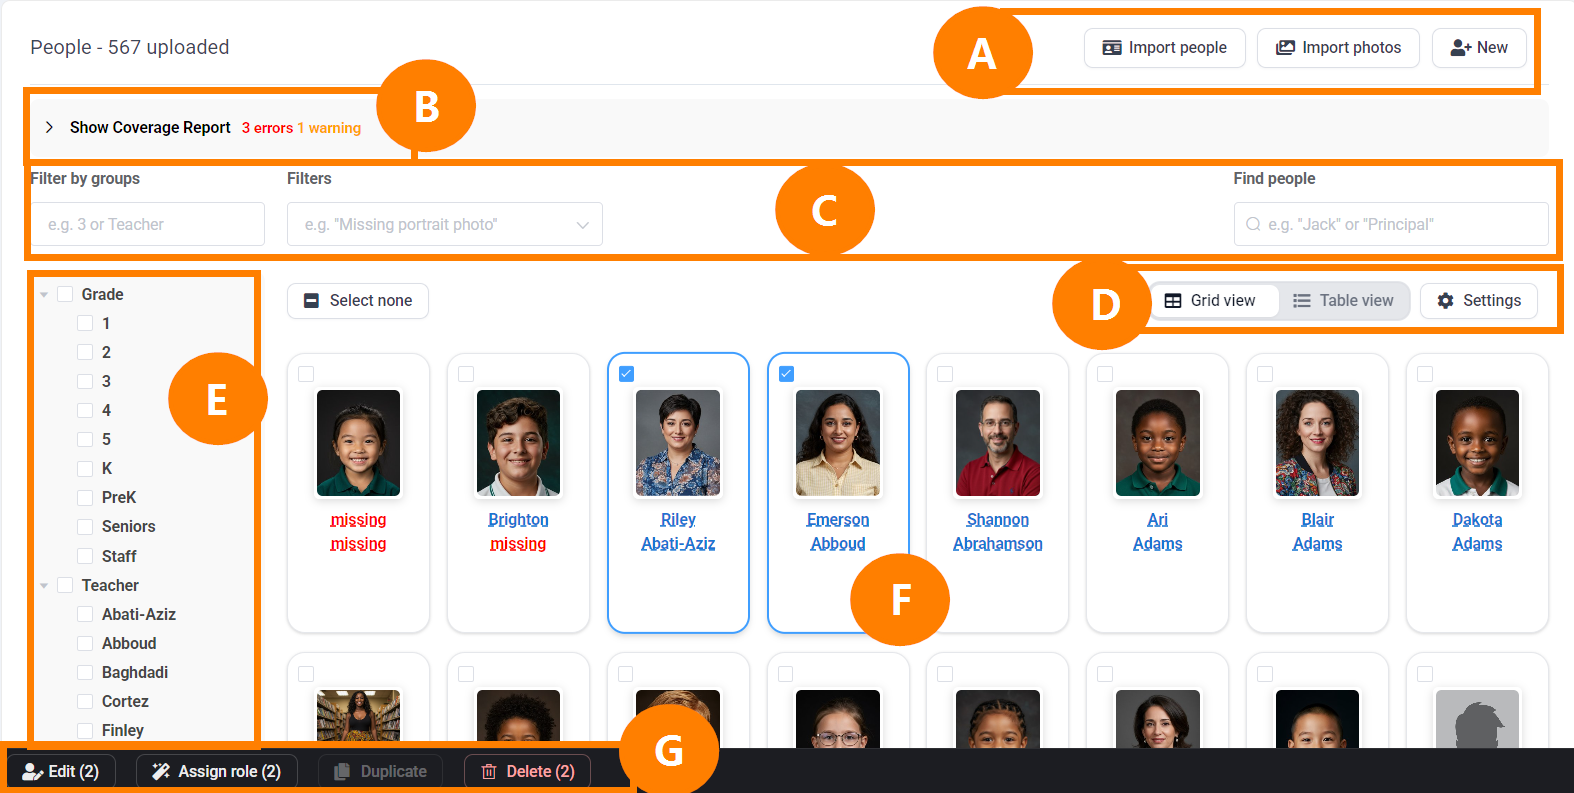
The portrait manager provides an array of tools and filters.
| A- Import people & photos into the manager | B- Access coverage reports to resolve problems |
| C- Filter by groups, issues & keyword | D- Portrait view |
| E- Filter by group (checkmark option) | F- Portraits and data |
| G- Actions to apply to selected portraits |
Moving through portrait view screens
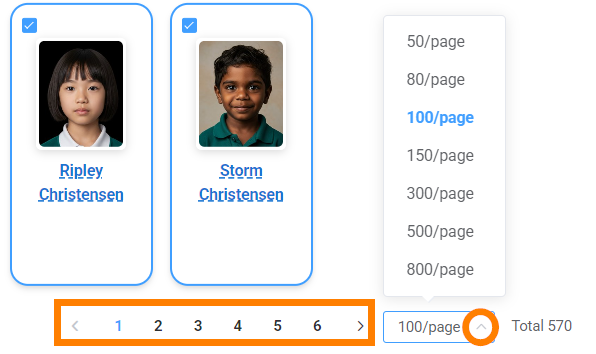
Scroll to the bottom of the portrait display to move to the next set of portraits. Optionally change the number of portraits to display per screen.
Filtering Portraits in the Portrait Manager
Filtering by group - filtered optionType the name of a particular group -- a grade, teacher, department or role. When the desired group appears, checkmarki it to limit the portrait view to only that group.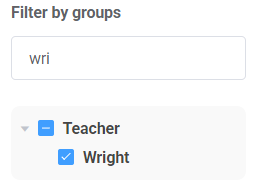 | Filtering by group - checkmark optionCheckmark one or more groups from the right-side list directly to limit the portrait view to the selected groups.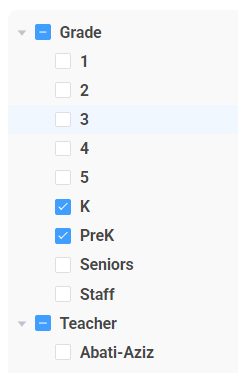 |
Troubleshooting with FiltersAccess the troubleshooting filter to look for potential problems in the portrait database. Search for unflowed portraits, portraits missing photos and name info, portraits not added to groups, and portraits that have been excluded.Note that the coverage report at the top of the portrait manager provides a quick review of problem areas. If issues are reported, then use the filter option to quickly see the affected portraits. 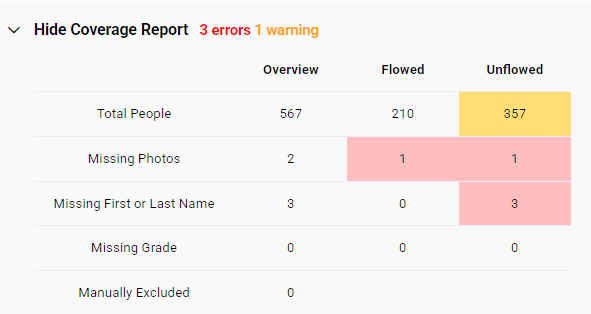 Learn more about coverage reports. | 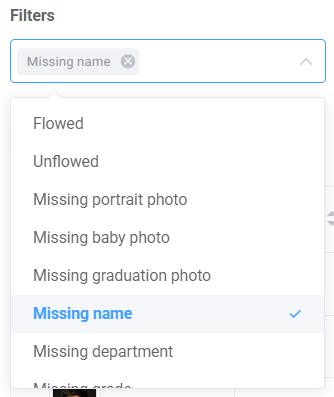 |
Searching by keyword (eg. name)Type part or an entire name, job title or other info that appears in the database. The portrait views will limit to only the people who have data that matched the keyword. | 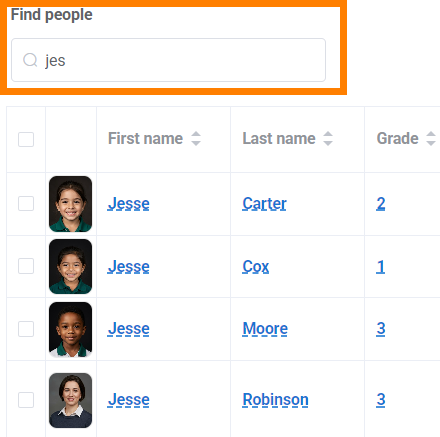 |
Portrait View Options
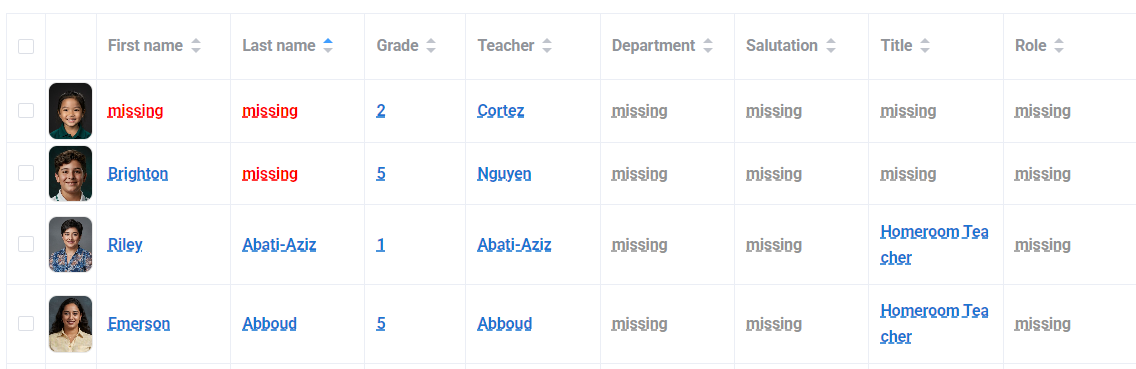
| The portrait manager offers two view modes: Grid View and Table View. Toggle between either view using the controls on the top right of the table. | 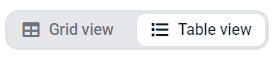 |
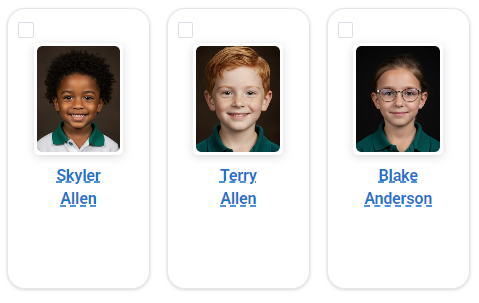
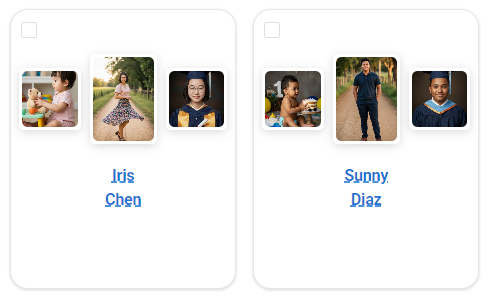
Grid View focuses on photos, with name and other data placed below.
 |  |
View customization options
| Settings provides view customization options. |  |
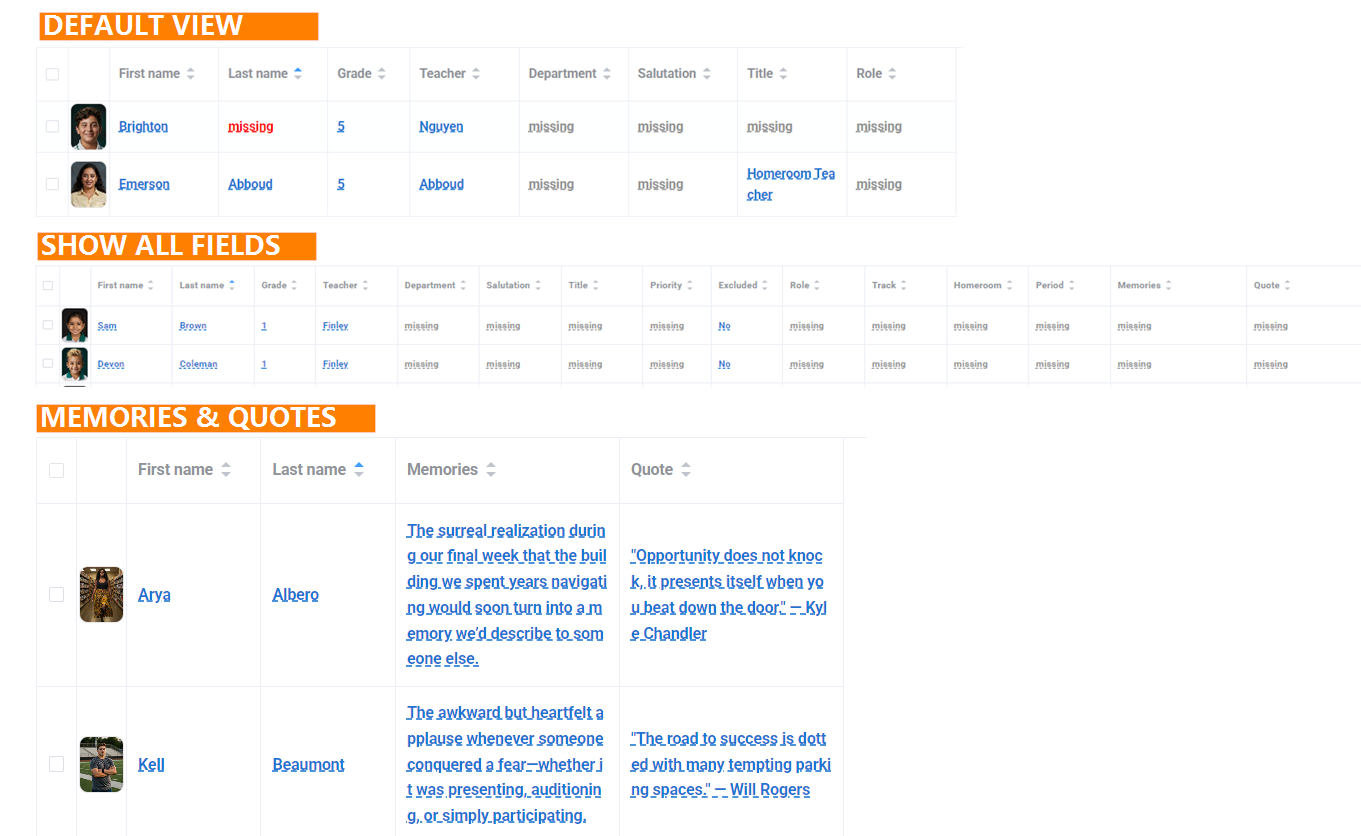
Table view customizationClick on Settings to customize what fields to display in the table: all data field, name + memory & quotes, or a custom selection. 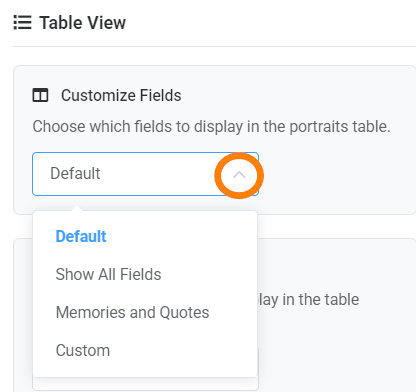 | Custom option provides a list of fields (columns) to select, letting you focus on the information areas that need your attention. 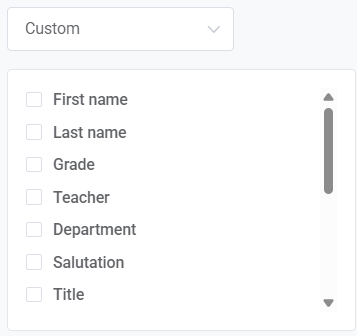 |
| Choose which image to include as the portrait on the data table. By default, the primary portrait image will be selected. Choose Baby or Graduation if alternative images have been added. | 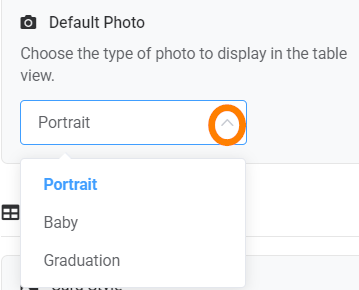 |
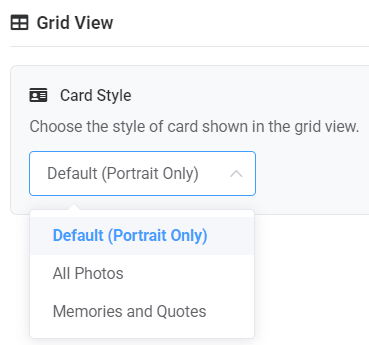
Grid view customizationClick on Settings to customize what fields to display in the table: all data field, name + memory & quotes, or a custom selection. | The custom option provides a list of fields (columns) to select, letting you focus on the information areas that need your attention. |
| Choose which image to include as the portrait on the data table. By default, the primary portrait image will be selected. Choose Baby or Graduation if alternative images have been added. | |
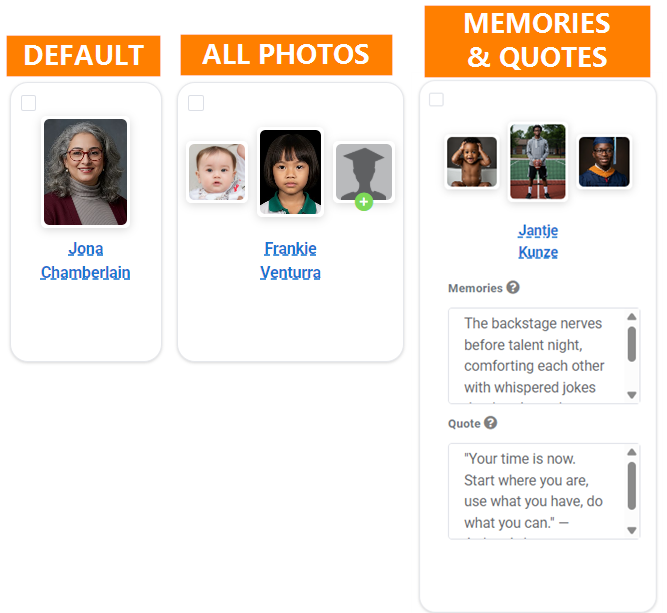
Grid View customization enables three modes: default (single portrait only), all photos and memories & quotes.
 |  |
Was this article helpful?
That’s Great!
Thank you for your feedback
Sorry! We couldn't be helpful
Thank you for your feedback
Feedback sent
We appreciate your effort and will try to fix the article